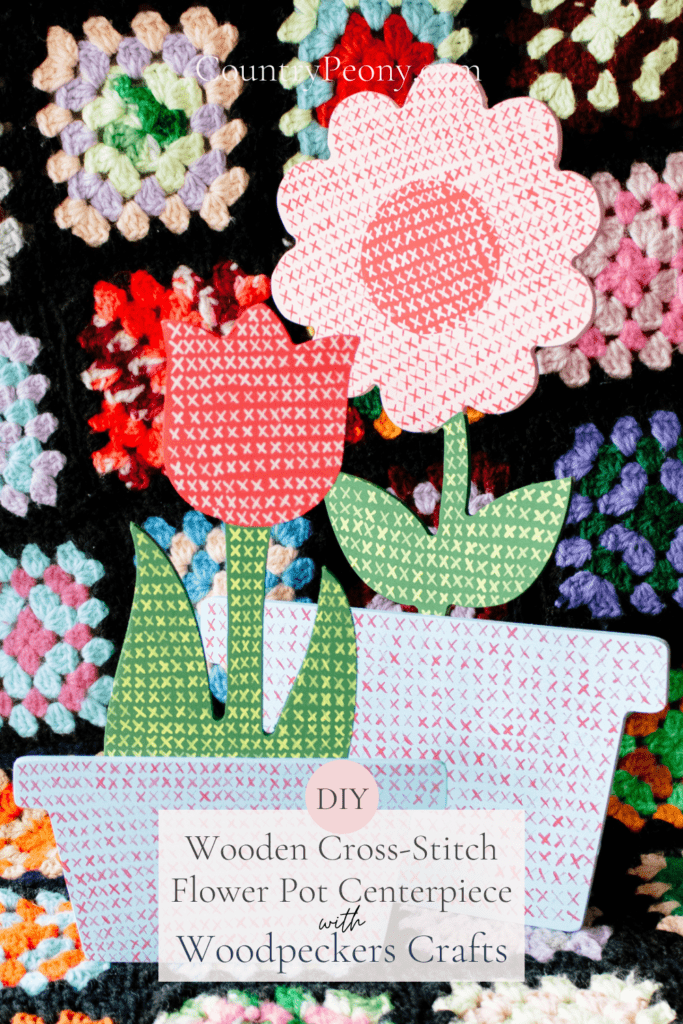
Spring is almost here, and I am so excited for it! As a flower enthusiast and fan of vibrant Spring colors, I can’t wait to see all of the colorful flowers in the fields. In the meantime, I will focus on charming floral crafts I can make at home. Speaking of charming floral crafts, today I am so excited to partner with Woodpeckers Crafts to bring you a sweet and vintage-inspired flower craft for Spring: DIY Wooden Cross-Stitch Flower Pot Centerpiece.
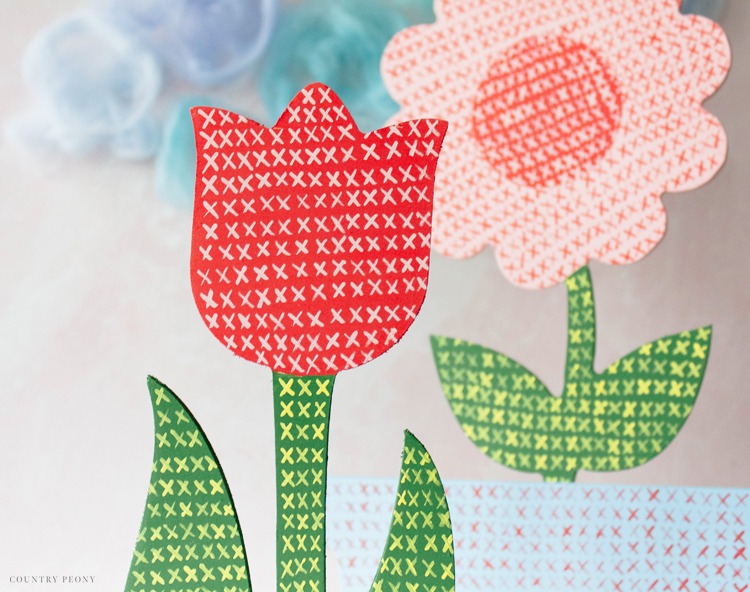
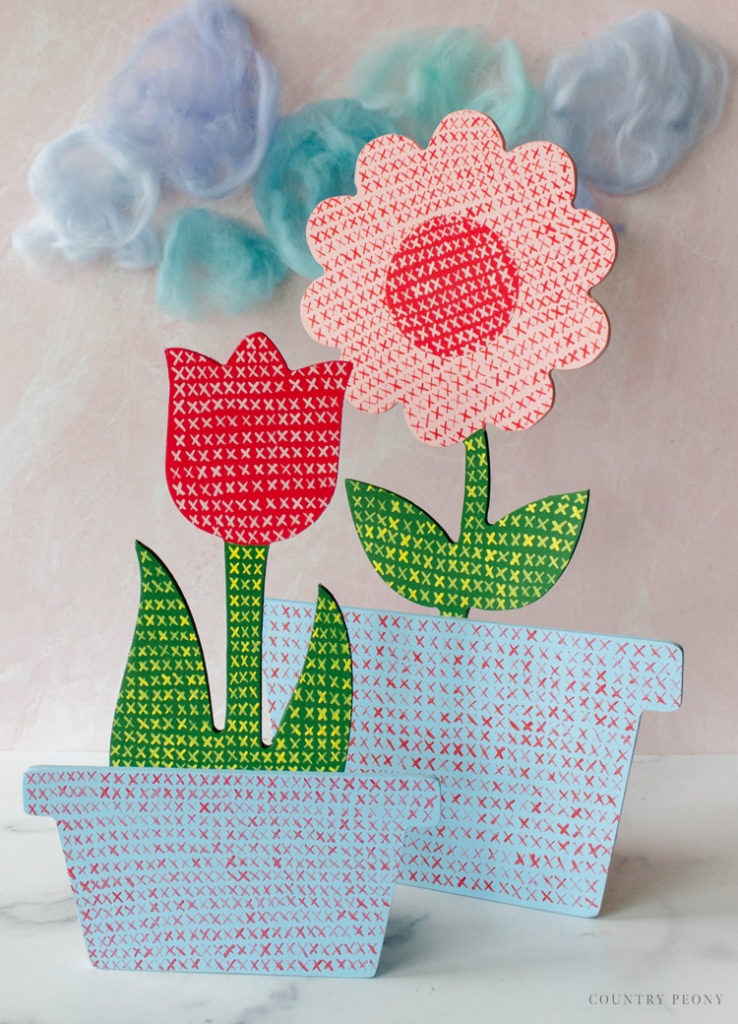
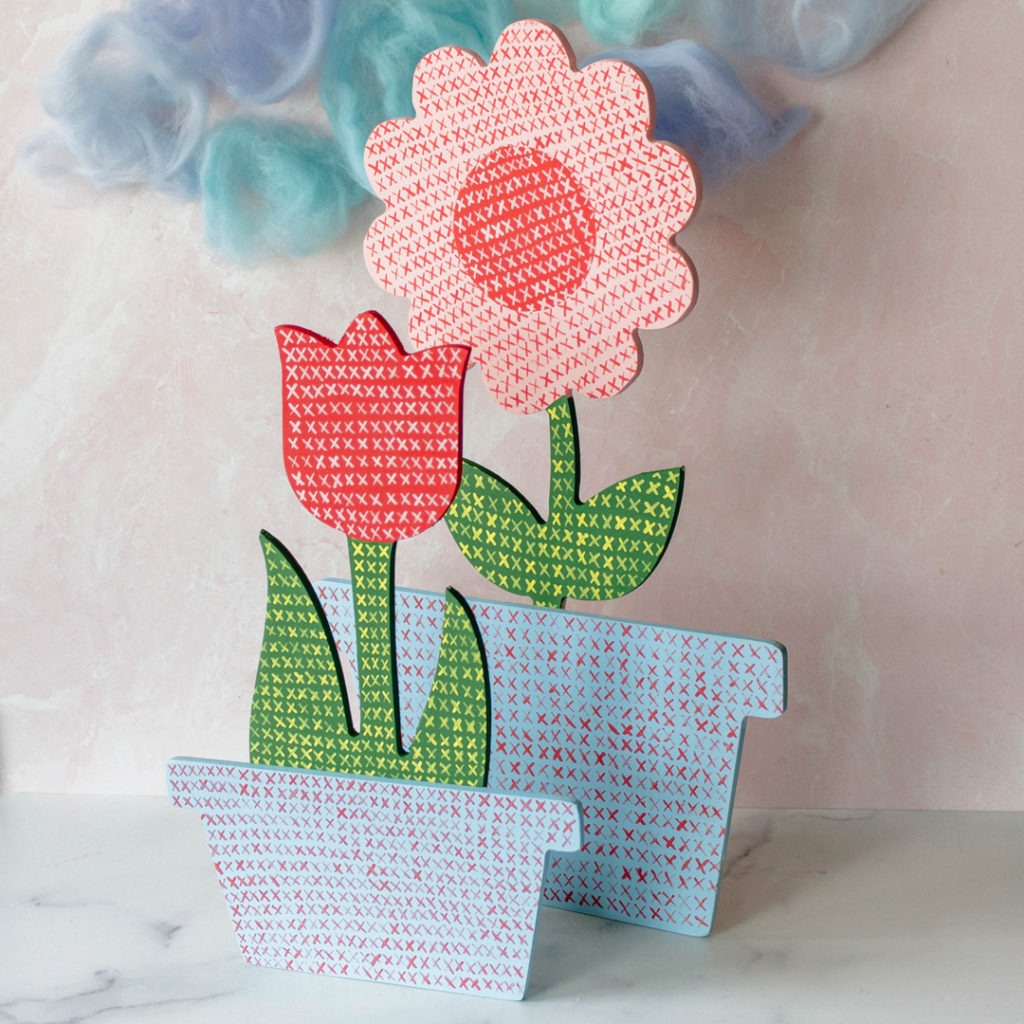
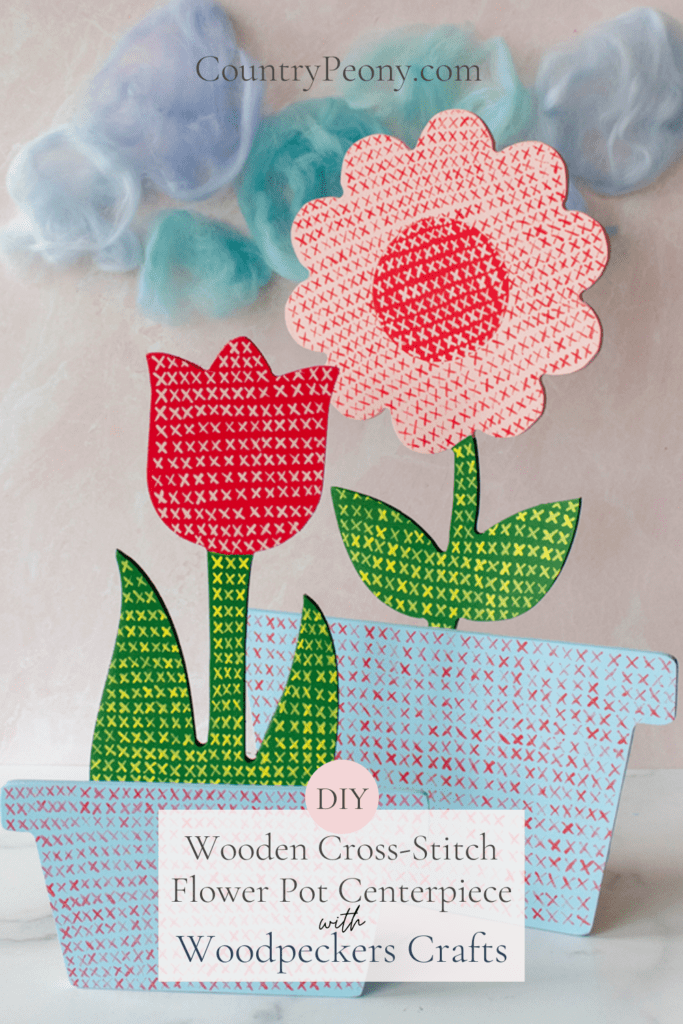
Today we are combining Woodpeckers Crafts adorable flower cutouts and pot cutouts to create a charming DIY Wooden Cross-Stitch Flower Pot Centerpiece. I was inspired by my love for vintage and handmade with the faux cross-stitch pattern that is created using the paint. I believe it adds the perfect touch of whimsy and handmade charm to these flowers! You can use these centerpieces as part of a Spring tablescape, as a bookend, or in your Spring vignette!
Enjoy this video below showcasing how to create this project
Continue below for the step-by-step tutorial to create your own DIY Wooden Cross-Stitch Flower Pot Centerpiece for Spring!
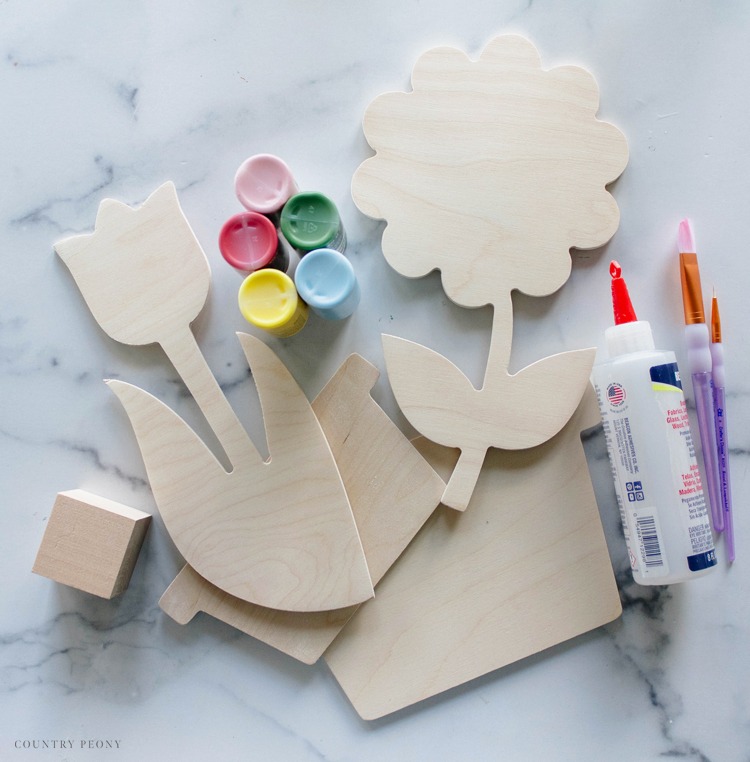
To Make Your Own Wooden Cross-Stitch Flower Pot Centerpiece, you will need:
Craft Paint. For this project I used Apple Barrel’s acrylic paint in Cameo Pink, Real Yellow, Kelly Green, Flag Red, and Light Blue.
Thick Craft Paintbrush
Thin Craft Paintbrush
Permanent Wood Craft Glue
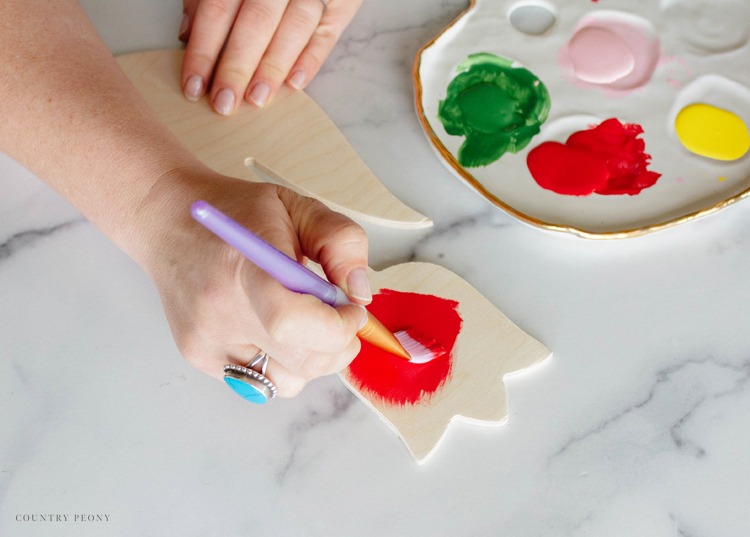
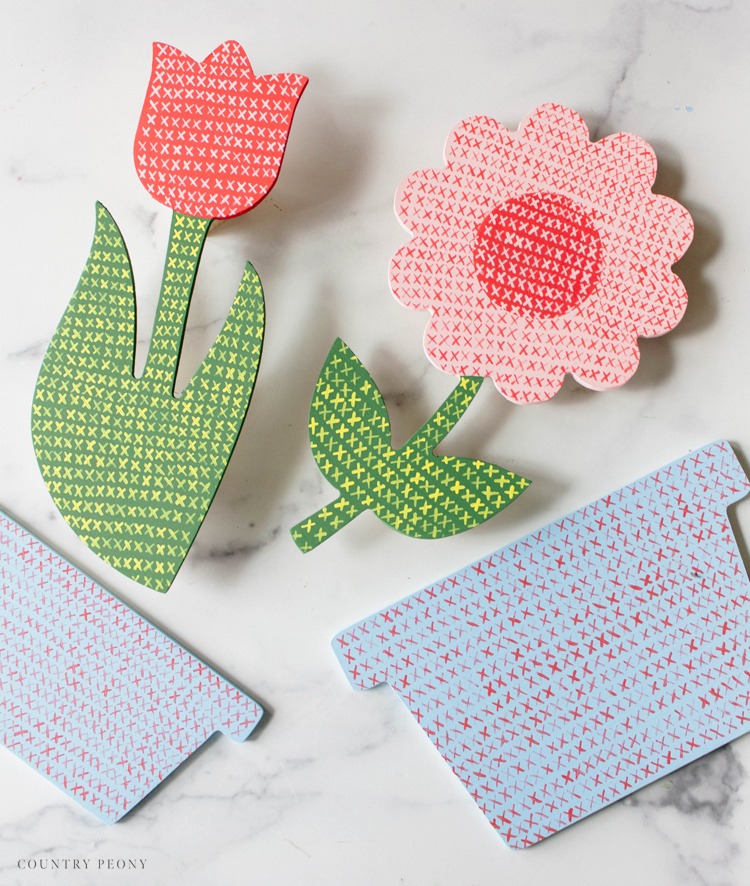
Paint the Wooden Flower and Pot Cutouts
Choose a color palette. When I am choosing colors for a project I like to find an inspiration photo and pull 3-5 colors from that image. Since I wanted this project to evoke the sense of Spring, my inspiration photo was an actual flower.
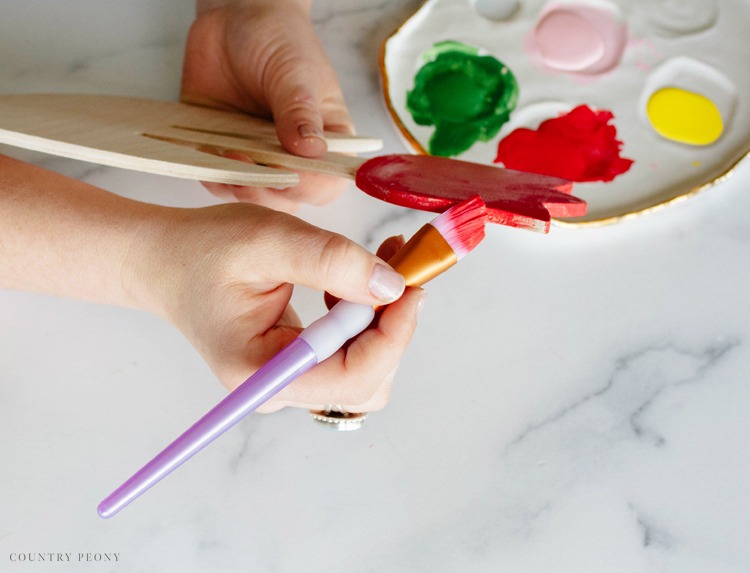
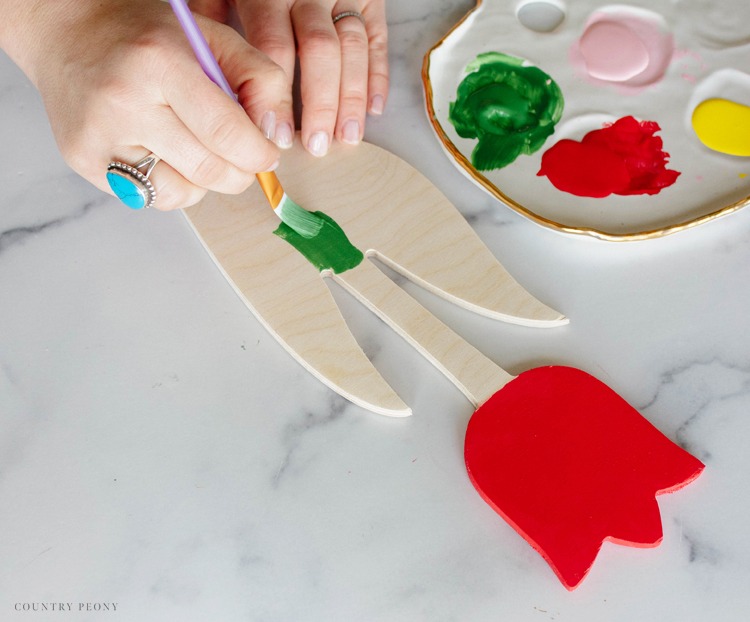
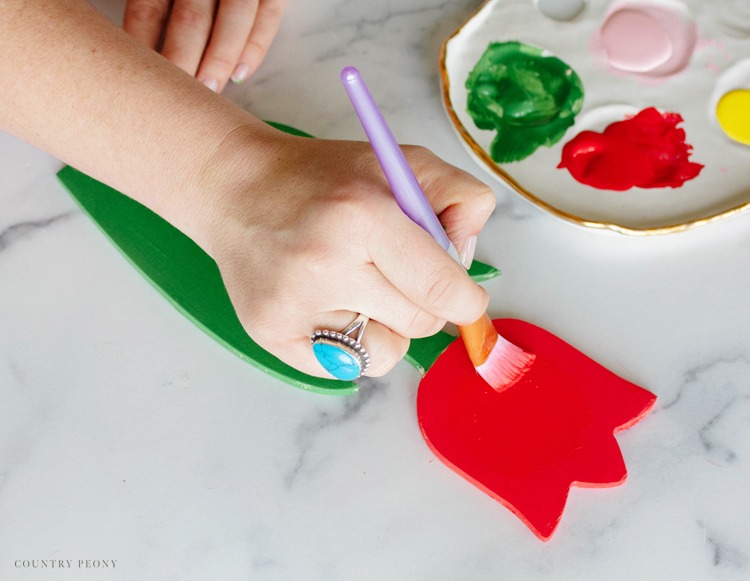
Once you decide on a color palette, paint one coat of craft paint to the wooden flower and pot cutouts. Then let them dry!
Be sure to paint the sides of the wooden cutouts.
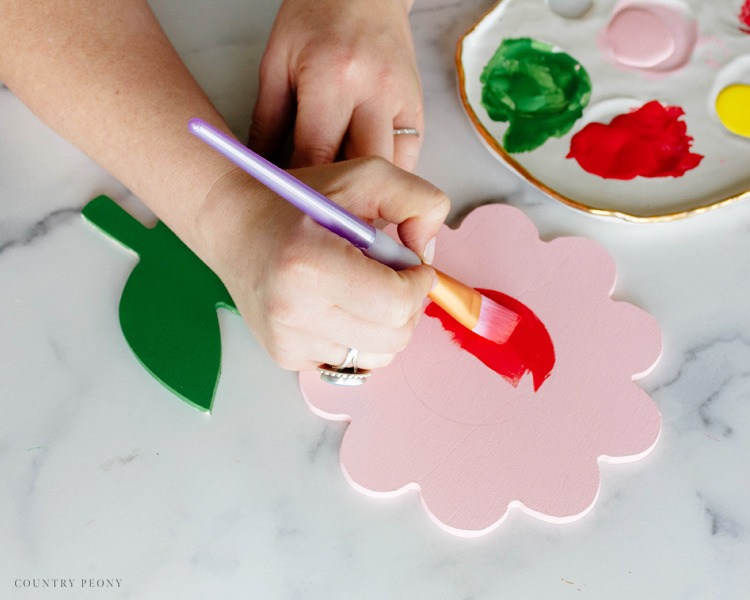
*You can add fun designs to your flower cutouts, but I do recommend keeping it simple as you will add the faux cross-stitch effect later. For the flower cutout, I painted the center a different color.
Once the first coat is dry, apply a second coat of craft paint to the wooden cutouts.
Let the wooden cutouts dry!
Apply the Faux Cross-Stitch Pattern to the Painted Wooden Cutouts
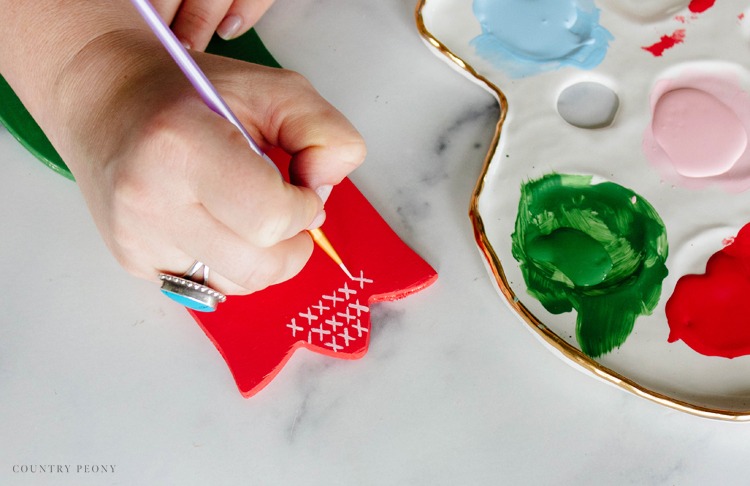
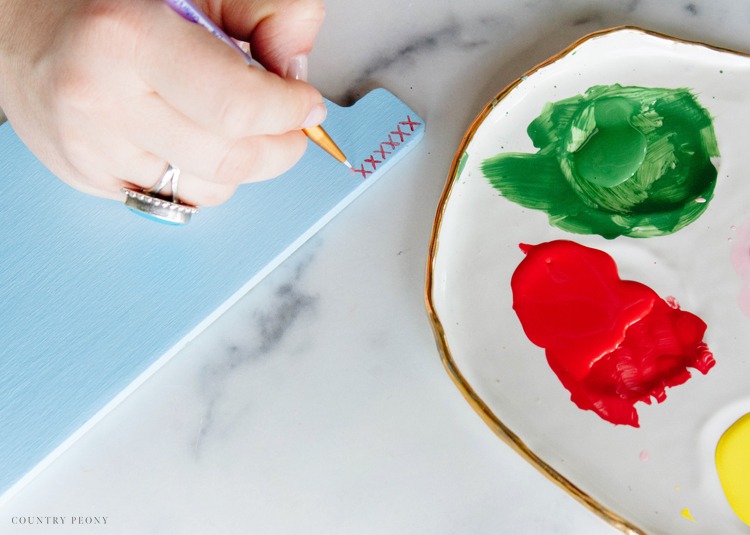
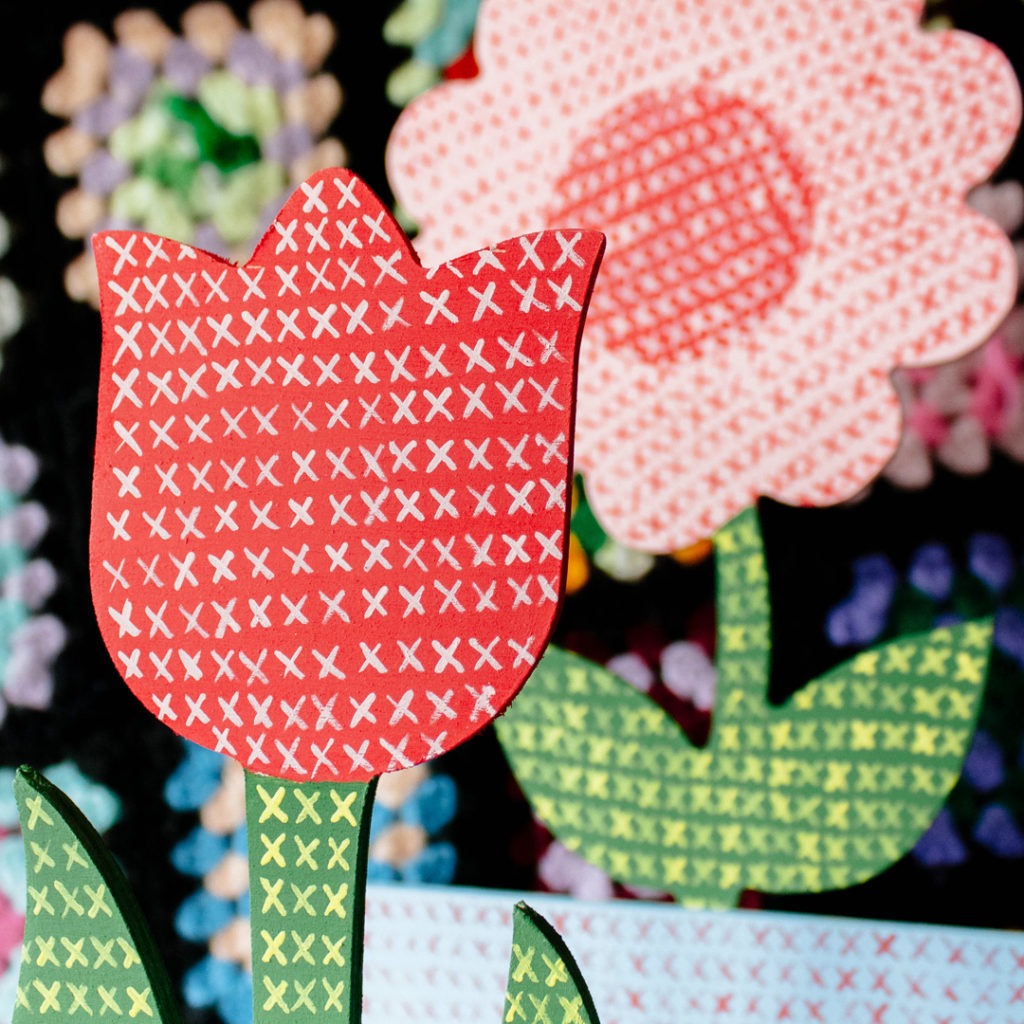
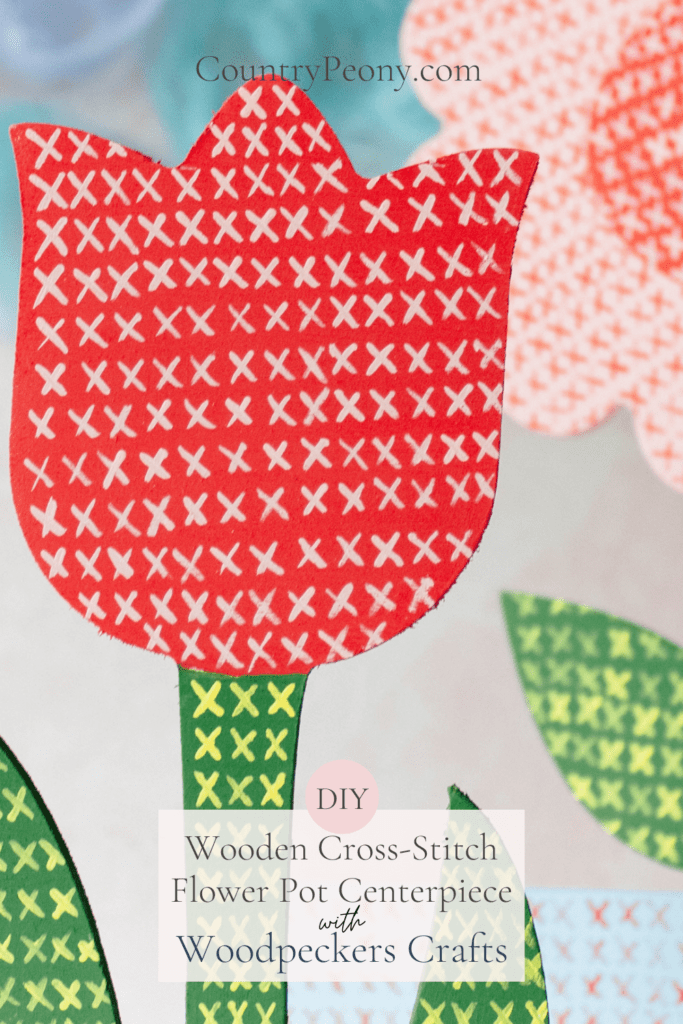
Once the paint is fully dry (in a contrasting color and with a very steady hand), use a very thin paintbrush to paint x’s onto the cutout to act as the cross-stitch pattern.
You may use a ruler to make lines first so that your x’s are exact. Or, like me, you can freehand the faux cross stitches. However, you decide to do this, I recommend to just have fun and to not overthink it. It should be fun, and it should look handmade after all as that is the charm of cross-stitch!
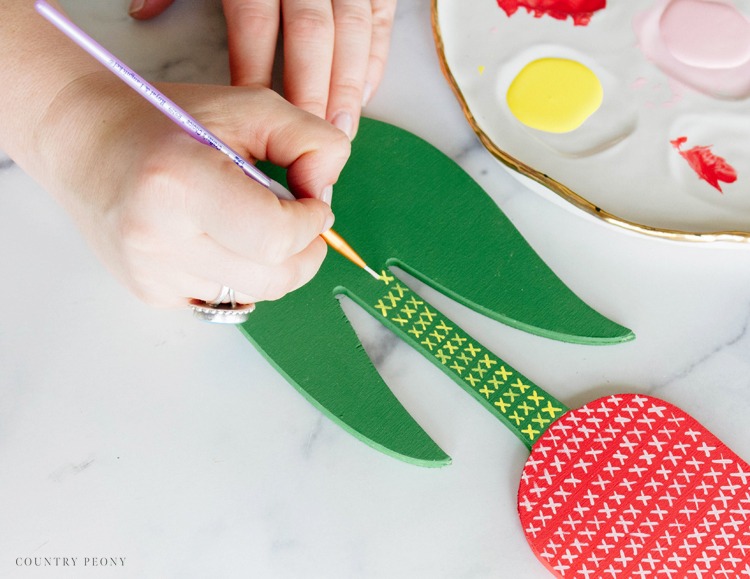
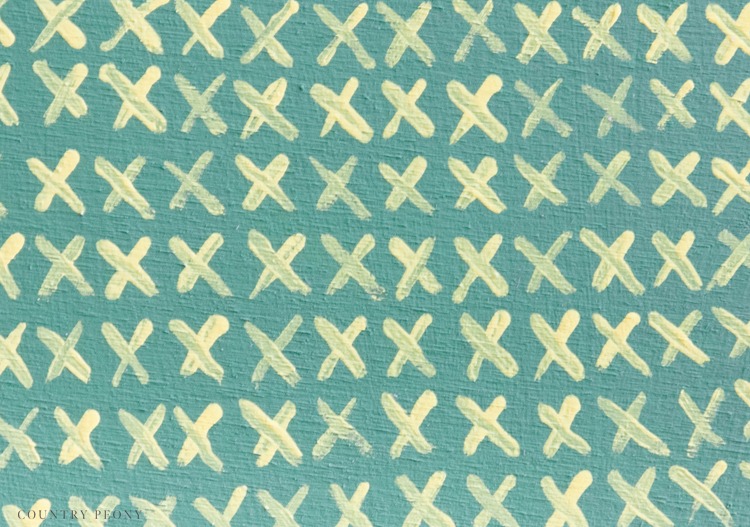
Continue to add the x’s to the entire wooden cutout in a contrasting paint color.
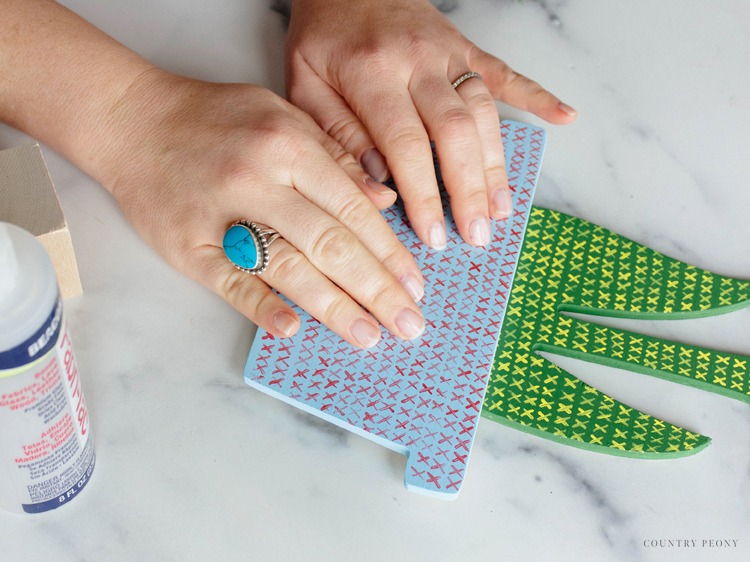
Assemble the Wooden Flower Cutout and Pot
Use your favorite wooden craft glue to attach the flower cutout to the back of the wooden pot cutout.
I used Beacon’s Fabri-Tac for this project.
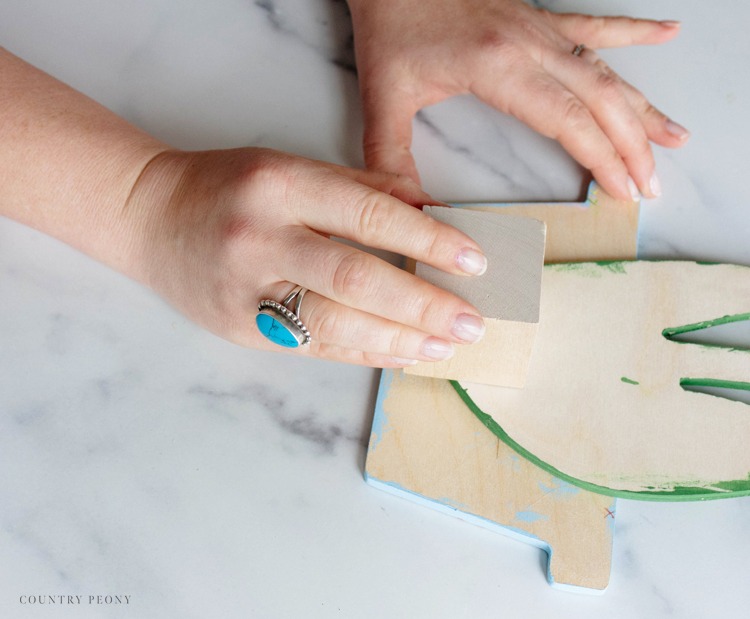
Then, bring the flower pot to life and glue a wooden block to the back so that the centerpiece will stand on its own.
Wait for the glue to dry, then enjoy!
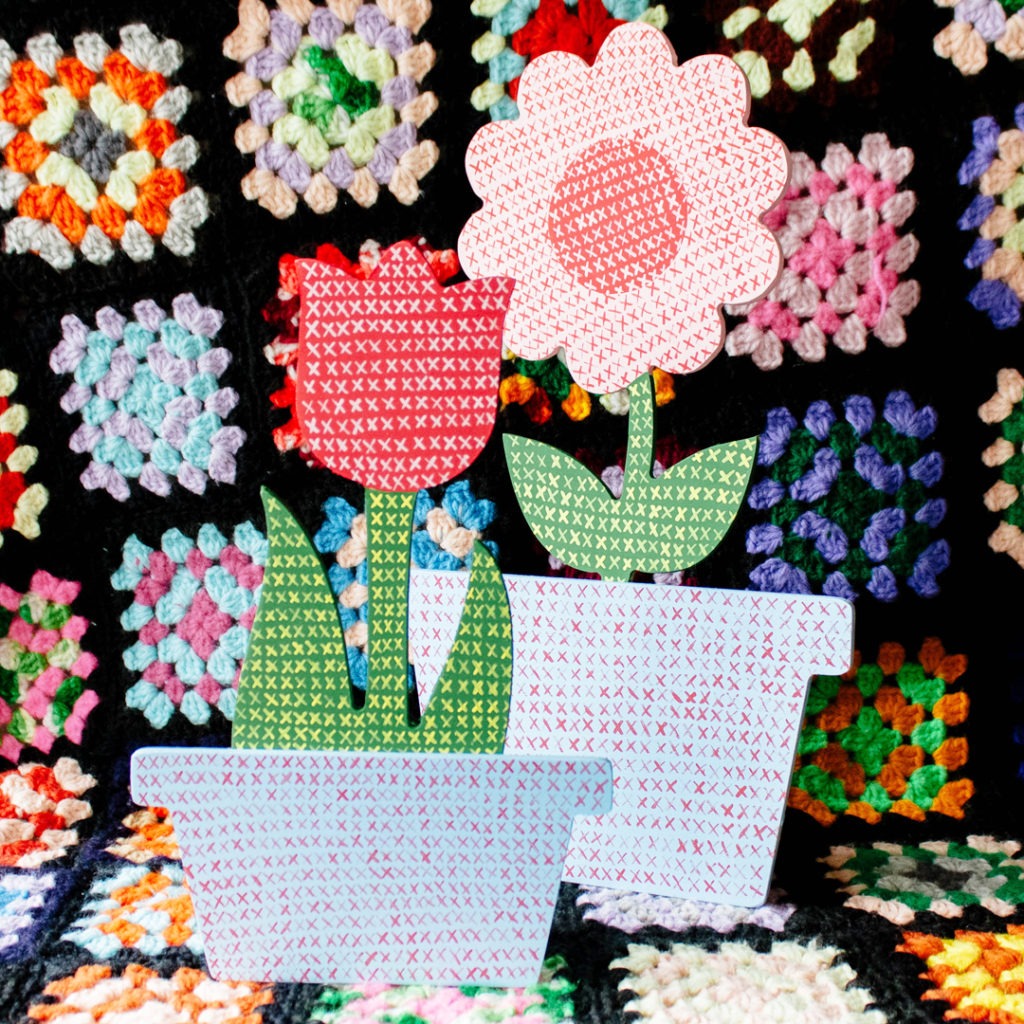
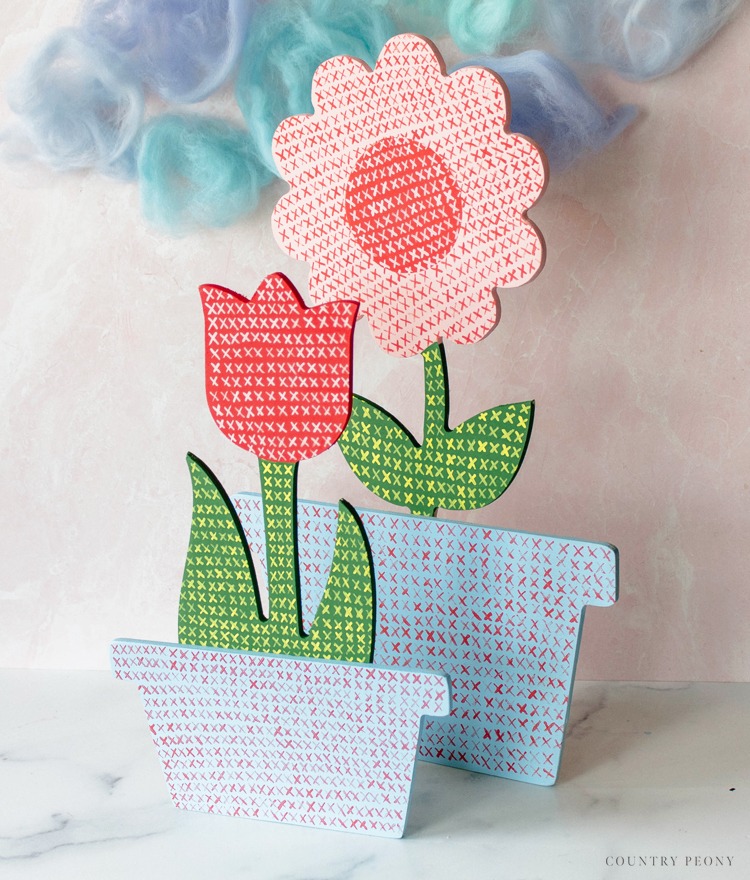
Display your Cross-Stitch Wooden Flower Pots
Place your custom, cross-stitch wooden flower pots on display in a Spring vignette for all to enjoy!
I believe crafting is more fun when we share our projects. Please email me at elizabeth@countrypeony.com, or please tag me @thecountrypeony or #countrypeony to show me your beautiful, custom creations!