Floral Wreath to DIY – Just Hoops, Beads & Dried Flowers
From our crafting table to yours
The backstory: last year we came across this beautiful twist on floral wreaths, and fell in love with it. And not only because it uses wooden beads!
In honor of summer’s approach, the women of Woodpeckers had a crafting party, and created our own version:
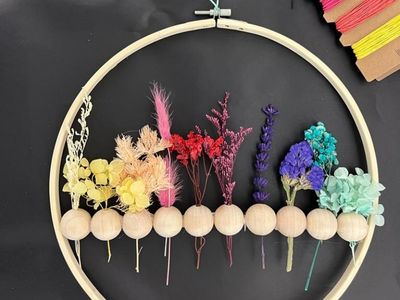
✨The Woodpeckers Wooden Bead Floral Wreath ✨
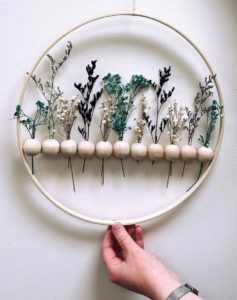
But when we finished there was no one version. Each person’s wreath was so uniquely her. (Who knows what kind of deep psychological secrets our flower choices reveal about us!)
4. Dried flowers – the ones you choose depends on your taste, but here are a few tips:
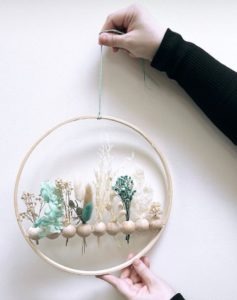
along with the assortment of colors, we made sure to get a bunch of neutrals – they go so well with wood.
in our experience, it was hard to tell from the package which ones come with stems. The pack may come with some stemless ones, which you can save for another project
Don’t get the ones that are “pressed”
Optional:
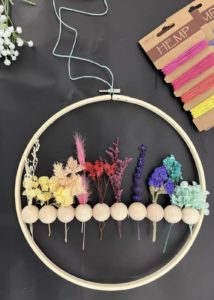
5. Twine – you can have fun with the colors and match them up to your “bouquet”
6. Double sided tape – this is optional, but super helpful
How to craft it:
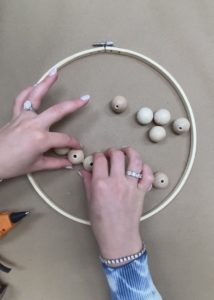
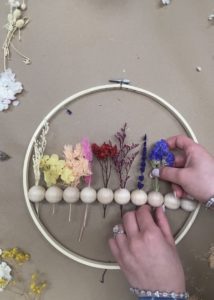
1) Line up the beads
Cut a piece of double sided tape to a length slightly shorter than the diameter of your circle, and line up the beads side by side on the tape.
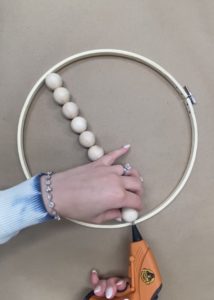
2) Glue them together
Using wood glue if you want it to look professional, and glue gun if you want it to dry fast, glue the beads to each other in a row, side to side, with the holes vertically.
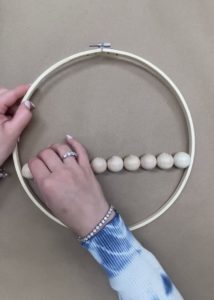
3) Place the strip inside
After the glue is dry, and you can lift the entire strip, peel off the tape and glue the strip of beads to the sides of the hoop (a bit below the midpoint).
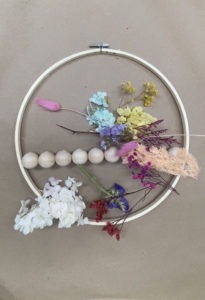
4) Choose flowers!
This is the fun part. Pick yourself a pile of flowers in your preferred color scheme, and don’t forget to throw in some neutrals.
5) Slide them in
If you bunch two or three stems together, they don’t even need to be glued. Play around with arrangements till it looks like it was meant to be!
6) Hang the hoop!
Cut a piece of twine, and string it through the top of the hoop, using a “lark knot” and pull the loose ends through the loop
** Note of caution: If you choose to use glue gun, keep your hoop out of the heat. As we learned the hard way, the glue is prone to melting (rather messily) in high temperatures…
So many ways to craft it beautiful…
Here’s what we did 👇 and we can’t wait to see your unique version.
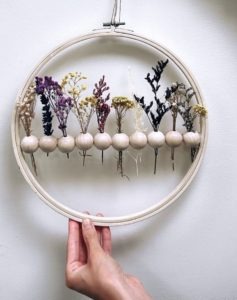
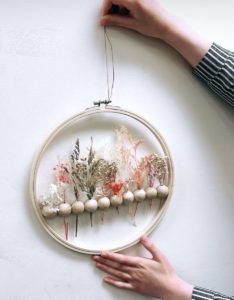
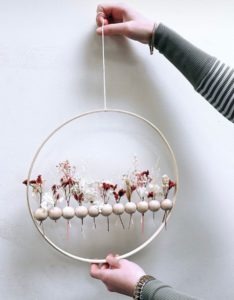
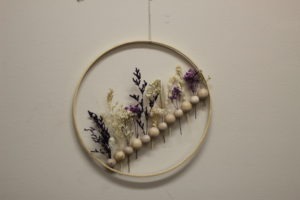
Renee’s version:
Sarah’s version:
Leah’s version:
Fay’s version:
Sara’s version:
Give it your own spin
Faigy, one of my artsy friends, saw our wreath craft and got inspired to try it. Her version had a whole new twist (literally!), and we all loved it.