By Elizabeth Jones with Country Peony
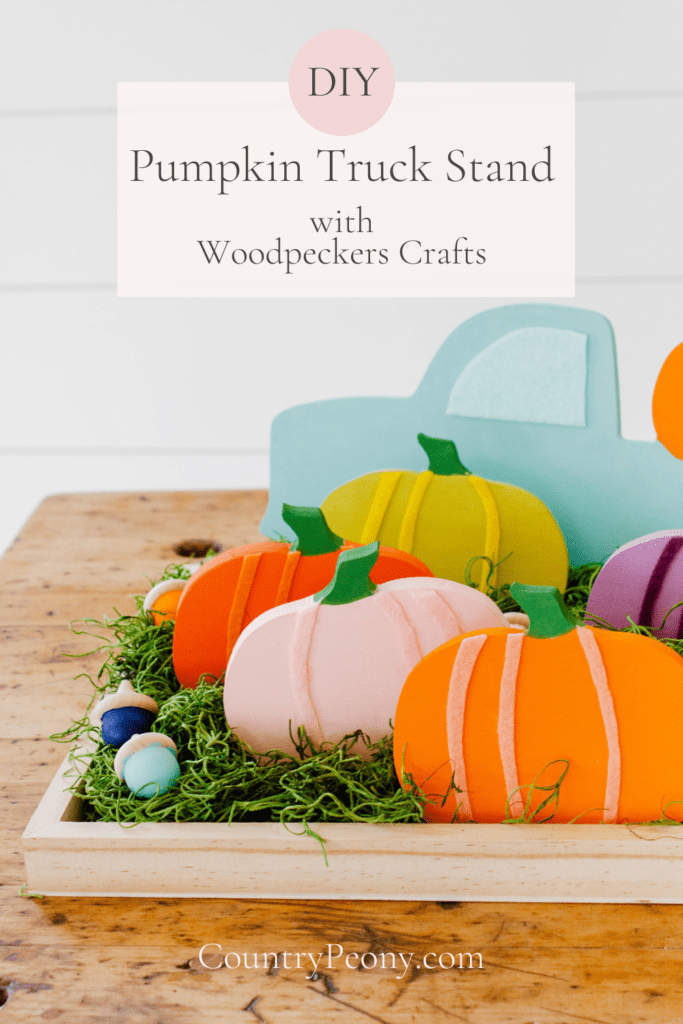
Fall is almost here, and I am so excited! To me Fall means campfires, the fresh smell of apples, beautiful falling leaves, and (my favorite) pumpkin patches! The Fall wooden décor lineup at Woodpeckers Crafts brings me the same amount of excitement. I was so inspired by their new Pumpkin Chunky and their Wood Pumpkin Truck Cutout that I had to make a Pumpkin Truck Stand vignette to celebrate my love for Fall pumpkin patches.
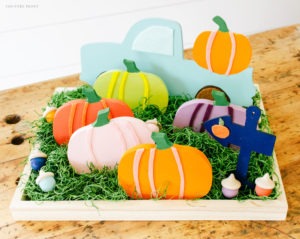
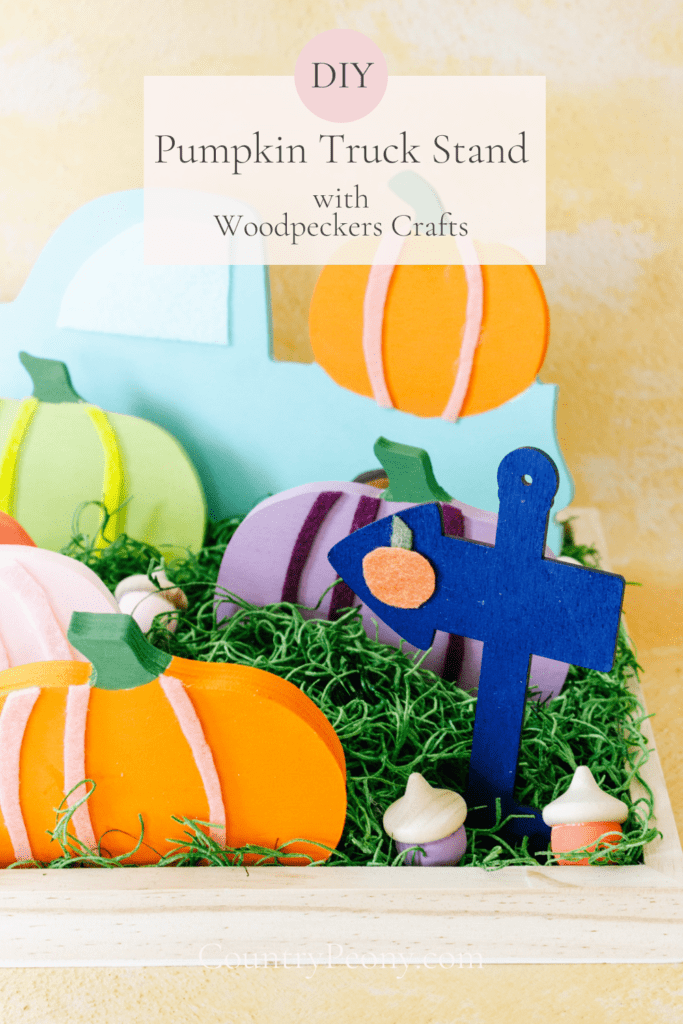
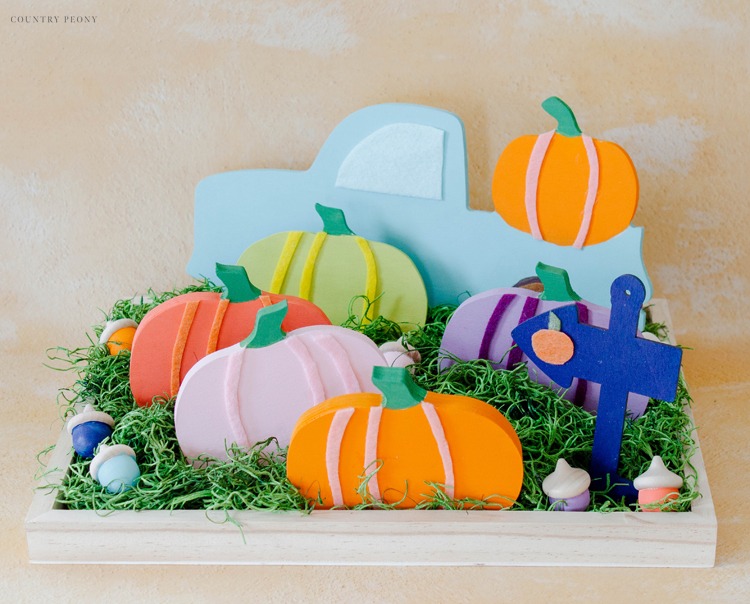
The Pumpkin Chunkies and Pumpkin Truck Cutout paired with their adorable wooden Acorns, Unfinished Wood Tray, and the North Pole Sign Post Cutout make the cutest Pumpkin Truck Stand. The beauty with all of these products is that you can embellish them however you want this season. I chose to paint them in a fun and colorful Fall color palette with some felt details to add some extra dimension and charm.
Before we get started on the tutorial, I wanted to highlight Woodpeckers Crafts. I am so excited to partner with Woodpeckers Crafts today because they provide very high-quality wooden products that are the perfect base for any crafting project. Their mission to use wood to fuel creativity is a wonderful one I can get behind, and I feel so grateful to partner with them on today’s project.
Enjoy this video below showcasing how to create the project.
Continue below for the step-by-step tutorial to create your own DIY Pumpkin Truck Stand this Fall!
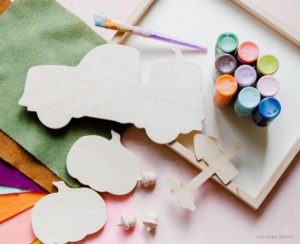
To Make Your Personalized Pumpkin Truck Stand, you will need:
- Woodpeckers Crafts Wood Pumpkin Truck Cutout
- Woodpeckers Crafts Chunky Pumpkin Cutout
- Woodpeckers Crafts Acorn
- Woodpeckers Crafts Unfinished Wood Tray Frame
- Woodpeckers Crafts North Pole Sign Post Cutout
- Craft Paint (For this project I used: Apple Barrel’s Flamingo Coral, FolkArt’s Dutch Aqua, Apple Barrel’s Jack O Lantern, Anita’s Lavender, Craft Smart’s Citron, Apple Barrel’s Kelly Green, Apple Barrel’s Cameo Pink, and Apple Barrel’s Deep Navy)
- Craft Paintbrush
- Felt in Corresponding Colors to the Craft Paint
- Green Moss (not pictured)
- Scissors (not pictured)
- Permanent Fabric Glue (not pictured)
- Hot Glue Gun with Hot Glue (not pictured)
Paint the Pumpkin Chunkies in Colorful Craft Paint
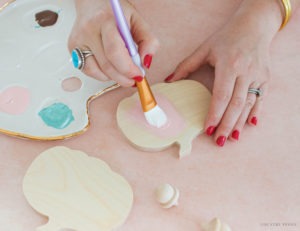
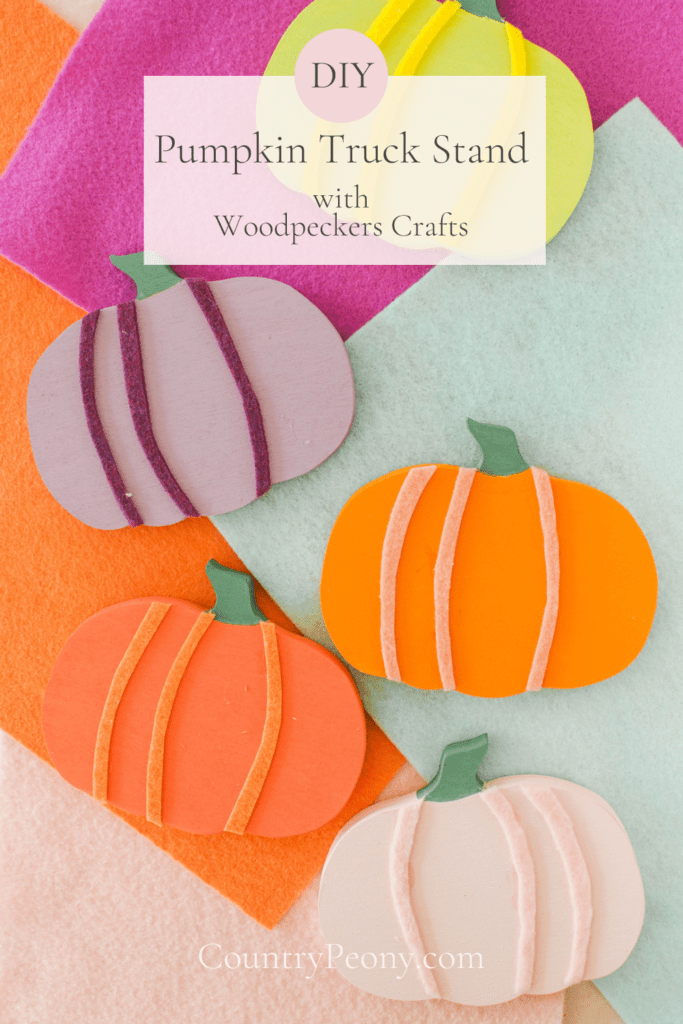
With a whimsical Fall color palette, paint a layer of craft paint to the Pumpkin Chunkies.
*You can paint both sides or just one side, since this will be a vignette.
Once the pumpkin is dry, paint the stem of the pumpkin green.
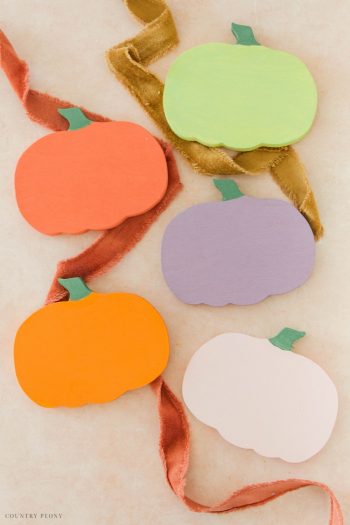
Add the Felt Embellishments to the Pumpkins
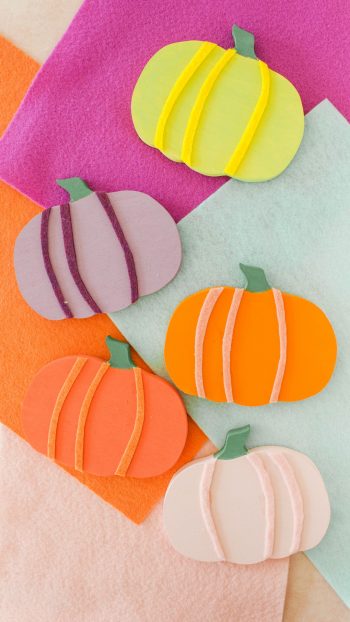
For added charm, embellish the painted pumpkins with felt.
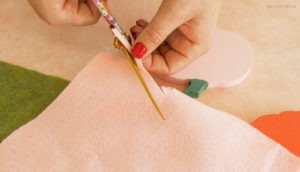
Cut three curved strips of felt in a corresponding color to the pumpkin.
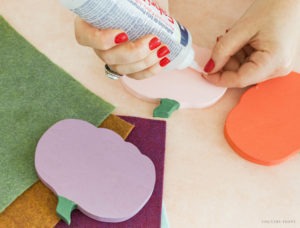
Attach the curved felt strip to the pumpkin with permanent fabric glue. Use the pumpkin indentions on the bottom as a guideline for the felt strips.
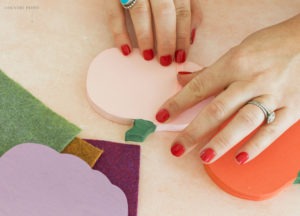
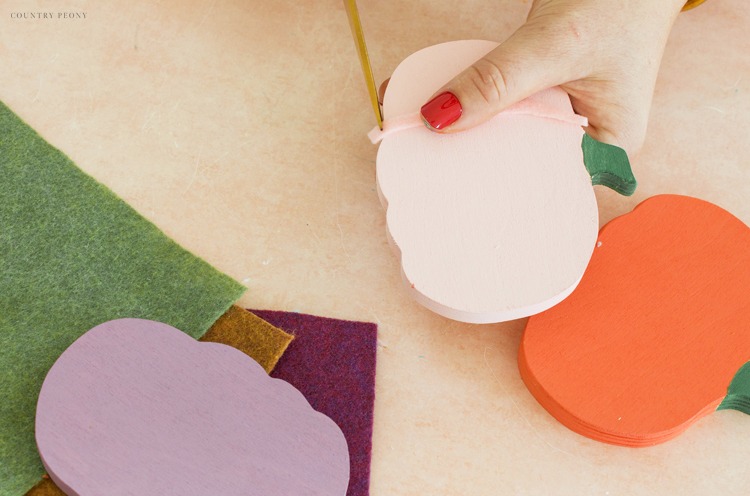
Trim the excess felt strips so that they are flush with the pumpkin edge.
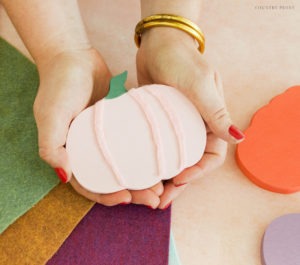
Continue to add fun felt embellishments to the rest of the Pumpkin Chunkies.
Paint the Wooden Acorns
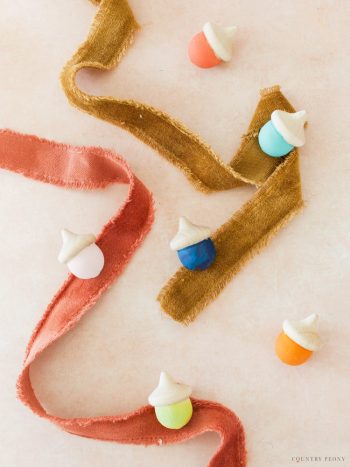
Paint the bottom of the wooden acorns the same color story as the pumpkins.
*I left the top of the acorns bare as I liked the beautiful wooden tones of them.
Paint the Pumpkin Truck Cutout
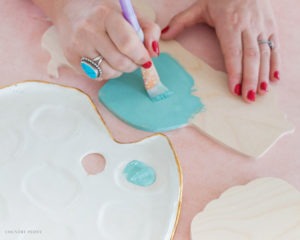
Paint one thin layer of light blue craft paint to the Pumpkin Truck Cutout.
Keep the pumpkin area bare.
*You can paint both sides or just one side, since this will be a vignette.
Set it aside to dry.
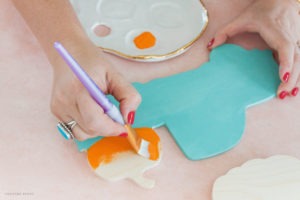
Once the blue paint is dry, paint the pumpkin base orange and then the pumpkin stem green.
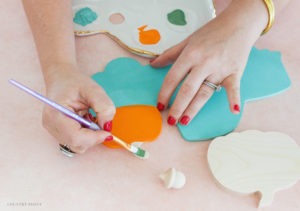
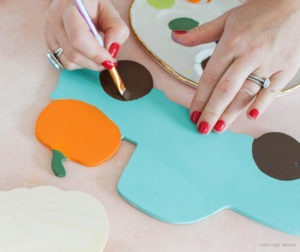
Then, paint the wheels on the truck a dark brown.
*I had to apply two coats of brown paint to the truck.
Set it aside to dry.
Add the Felt Embellishments to the Pumpkin Truck
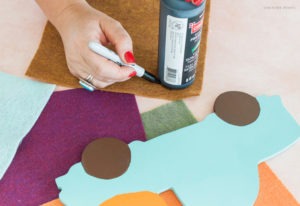
For more added character and charm, I embellished the wooden truck with felt.
For the wheels, use a guideline to cut out two small brown felt circles.
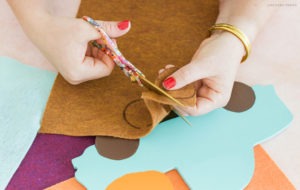
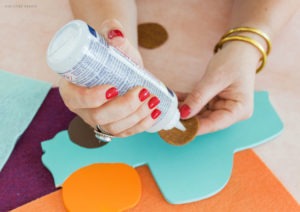
Attach the brown felt circles to the truck wheels with permanent fabric glue.
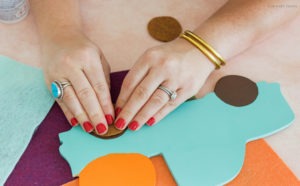
Then, finish off the truck by attaching a blue felt window and orange felt stripes to the pumpkin with permanent fabric glue.
Create the Pumpkin “For Sale” Sign
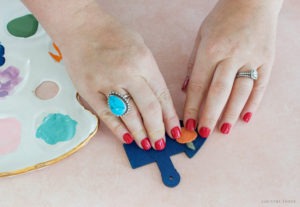
Paint the North Pole Sign Cutout with one layer of navy craft paint. Then attach a tiny felt pumpkin to the sign to act as the pumpkin “for sale” sign.
Glue Moss to the Wooden Tray
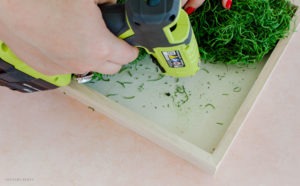
With the help of a hot glue gun, attach green moss to the inside of the Unfinished Wood Tray to act as the base for the pumpkin stand vignette.
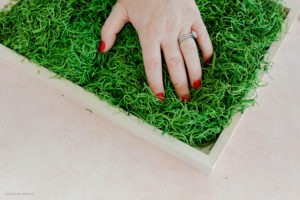
Create the Pumpkin Truck Stand Vignette
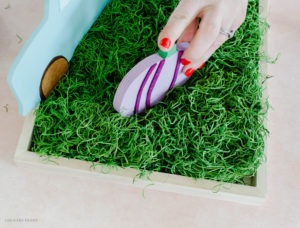
Nestle the wooden pieces in between the moss and directly hot glue them to the wooden tray to create the vignette.
Enjoy Your Pumpkin Truck Stand Vignette
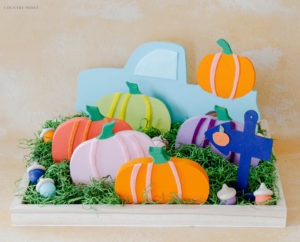
Display your pumpkin truck stand vignette on a coffee table, mantle, book shelf, or dinner table and enjoy all Fall season!
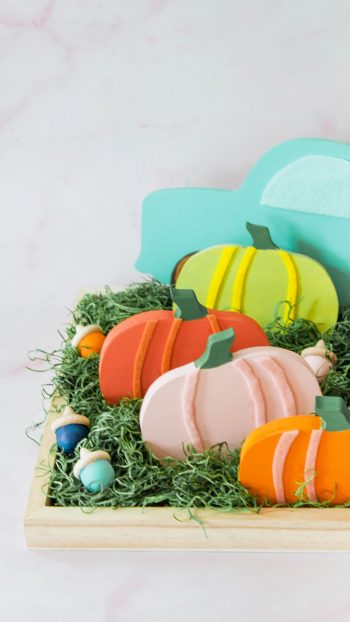
I love how all of the beautiful wooden Fall elements play together especially in this charming and whimsical color palette.
This is such a fun conversation display piece, and I love how you can personalize it to fit your own color design style.
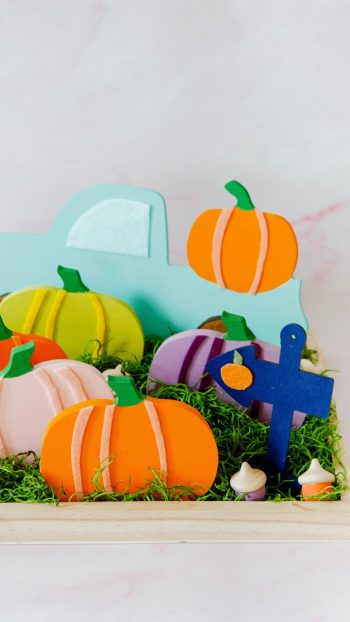
As with all of Woodpeckers Crafts products, the creative possibilities are endless! I hope you enjoy crafting with Woodpeckers Crafts this Fall!
Thank you so much for following along!
