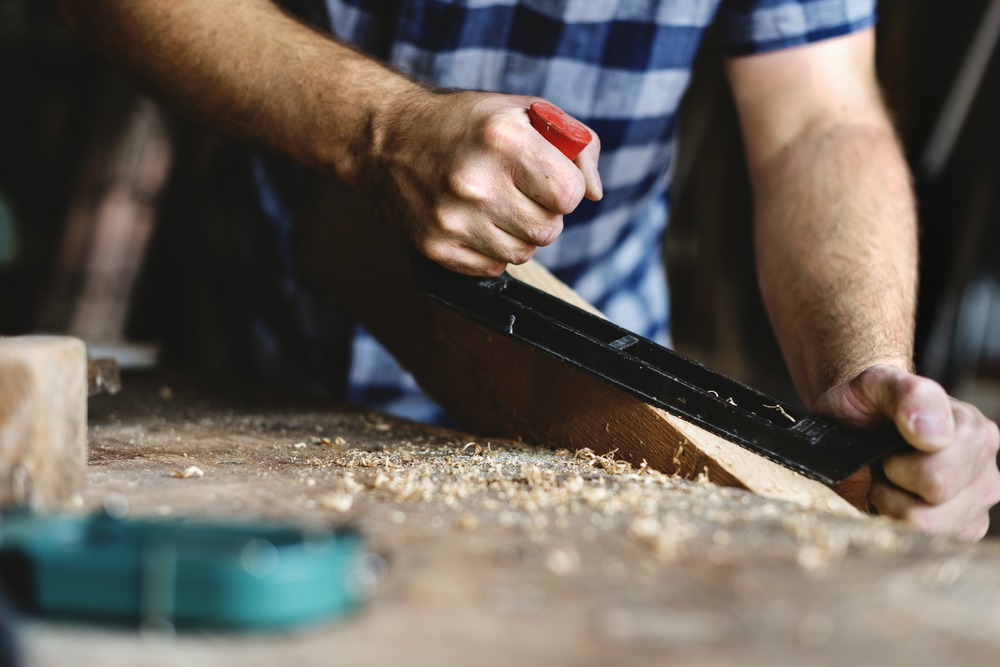
Lining up Wooden Pieces
Firstly, the to-be-joined wooden pieces are aligned with the wood grains, which face the exact position to get perfection. Then, the rings featuring on the wood’s edges cut and shaped in an arch shape, with the curves one end facing downwards. This is being positioned so to avoid a wood curvature when exposed to humid conditions.
Drawing a Triangle
The pencil will be put to good use for drawing a triangle, which spans the width of to-be-joined wooden boards. The triangle, once drawn to perfection, is supposed to help the woodworker place the boards intact in the right position as measured.
Marking Every Joint
The point where the joint biscuit needs to be placed will be marked too. The biscuits, once marked, would be separated by around 6 inches, and the boards would be spread once each joint is marked. This will serve to cut one slot apiece at each portion as per the measurements. Once cut, a touch of wood adhesive will be applied along the to-be-joined edge and on the inner slots.
Slotting in the Biscuits
The joiner biscuits will be slotted into one slot and slid into the respective slot at the other wooden piece. Then, the wooden pieces are clamped intact over the adhesive and put to dry up for a while before proceeding with the further procedure.
Marking Perpendicular Joints
This refers to wooden furniture wherein one boards edge is inserted into others face like in a bookshelf. For making the perpendicular joints, woodworkers use pencil and spot where the cuts should go in by holding intact the to-be-joined boards. The cuts that are usually spaced around 6 inches help the woodworker to place both boards perpendicularly, with the horizontal boards top lined up with the marking. After that, they are clamped intact in the same way.
A slot is cut in the wood pieces bottom end using a joiner biscuit. Then, the joiner will be turned facing vertical to the top slot and same sized slot is cut in the bottom for that. The joint is then clamped in and the adhesive is left to dry up subsequently.

