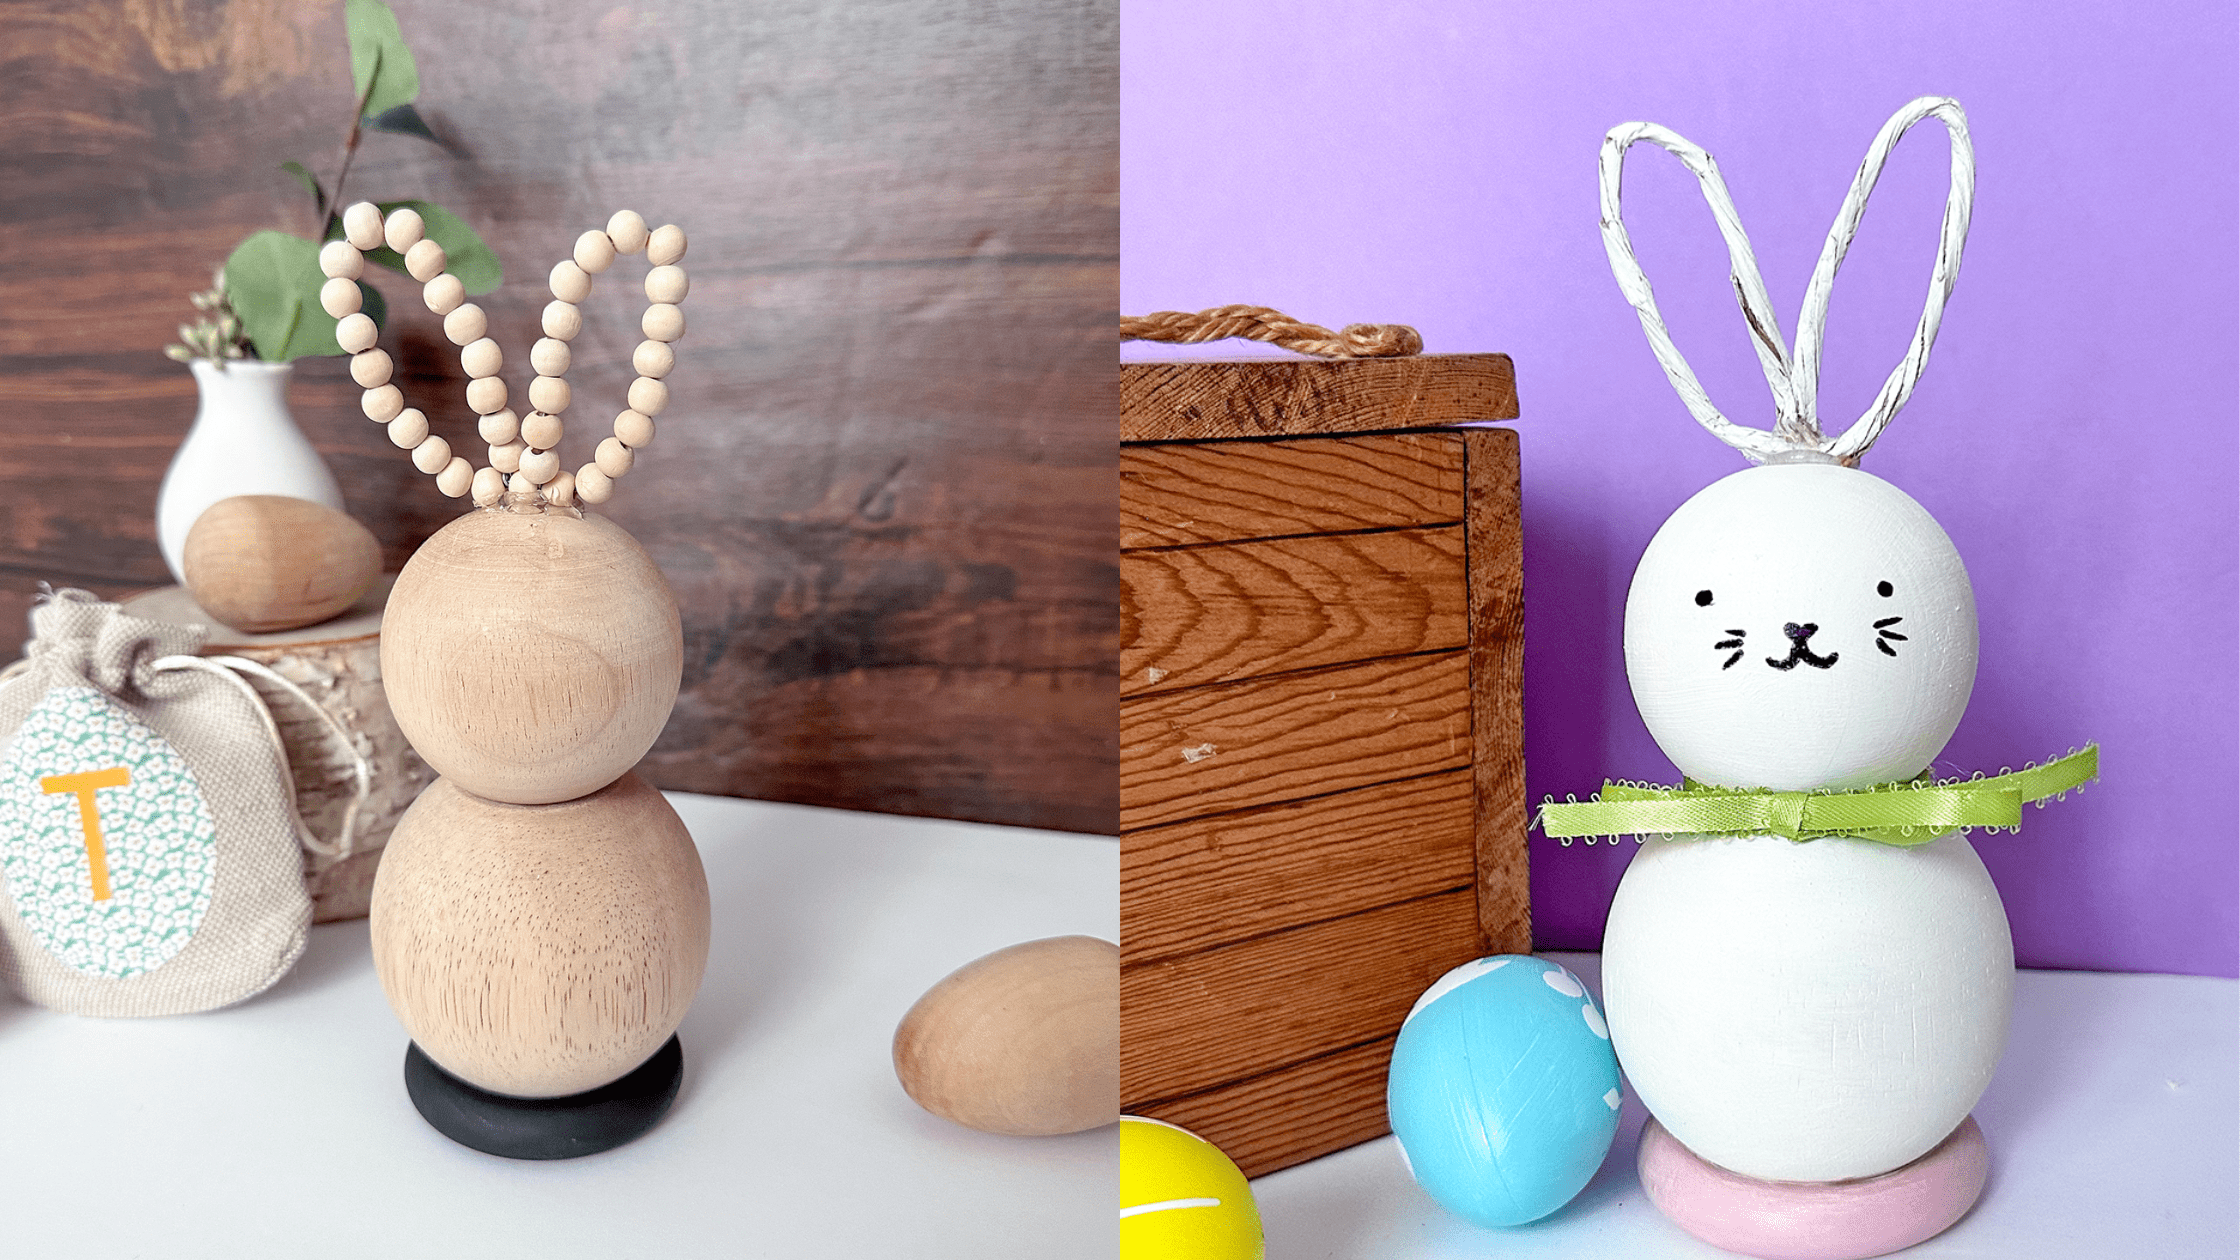
Options are always fun, especially when you’re crafty and you have a preference! Enjoy these two looks – one more modern/boho, and one sweet and springy! You’ll love how simple it is and how great it looks showing off on display!
What you'll need:
3″ Wood Ball Knob – 2
2.5″ Wooden Ball Knob – 2
5/16″ Ball Bead – 30
2″ Toss-Ring – 2
Acrylic Paint (Black, White, and Light Pink)
Paint Brush
Paint Marker (Black)
Ribbon (Green)
Wire – 9”
Kraft Paper Wire
Hot Glue Gun and Glue Stick
Multi-Purpose Glue
How to begin:
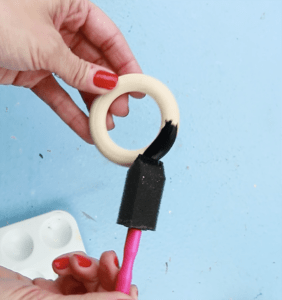
First off you’re going to paint the ring black, and let it dry. Then add glue to that ring, and place the largest ball on it.
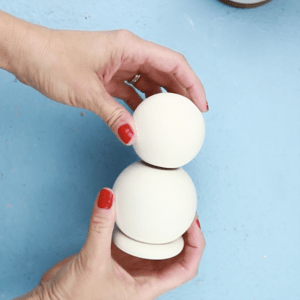
Next up:
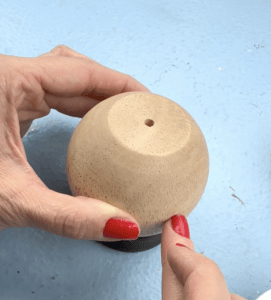
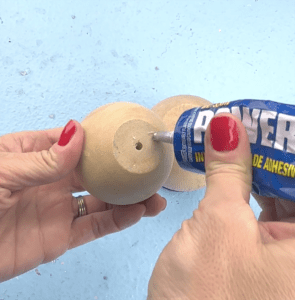
Now you can take the smaller ball and add some hot glue to its flat side. Place it on top of the bigger ball and let it dry.
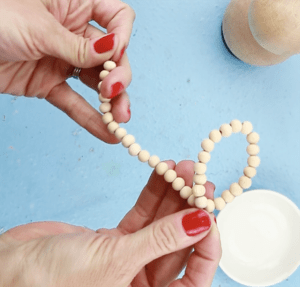
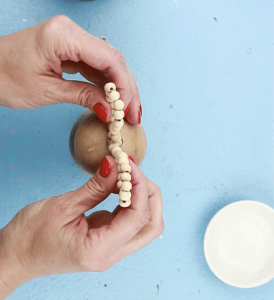
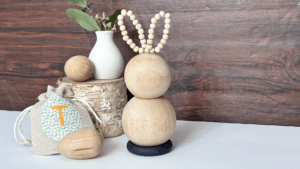
The fun part:
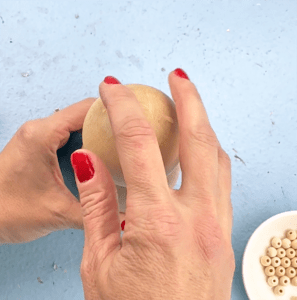
Now you can begin placing beads on your wire, and keep going until you have about ½” left on each side. Next, you can fold both ends to the middle, creating bunny ears, and then twist it to keep the beads on. Now place some glue on the ears and secure it to the bunny head, and you’re done!
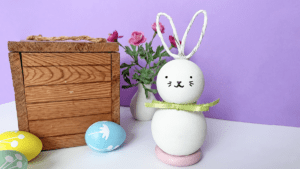
For the second look:
Begin the same, only swap out the black paint for white, and paint the bunny’s head and body white too.
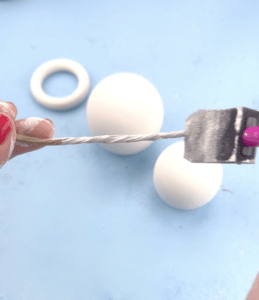
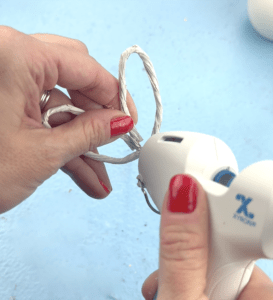
Ears:
You’re going to fold your kraft paper wire in half and and then fold each half toward the middle – creating bunny ears.
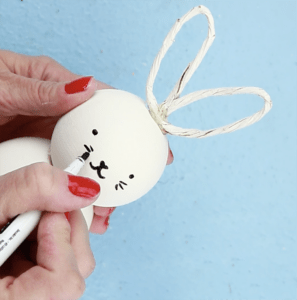
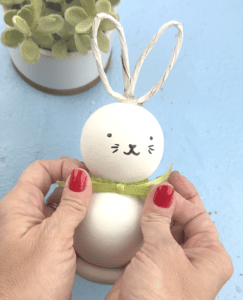
Finish it off:
You can then glue the ears on, make a cute little face using your paint marker, and add a little ribbon bowtie! You can also go back and paint that white ring pink for an extra springy touch!
We really hope you get to try these cuties out, and display them proudly! The simplest crafts often make the most beautiful finished products!