Hello everyone! I am super excited to share my latest furniture makeover project with you all! I am teaming up again with the incredible folks at Woodpeckers Crafts to bring this project to you.
You may remember from earlier this spring, my Wood Egg Garland project where I used their wooden eggs and beads to make a delightful spring piece of decor — well I enjoyed their wooden craft products so much, I knew when I was looking around on their website that I could use their split wood dowels to makeover a dresser that I have.
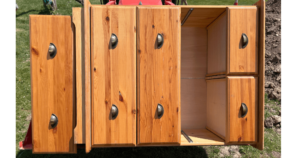
I picked up this dresser almost 2 years ago off Facebook Marketplace for $25. I scooped this dresser up for a steal of a deal and it has served me well but it is in need to a new and modern look.
I loaded the dresser on the tractor to bring it over to my studio so that I could begin my project.
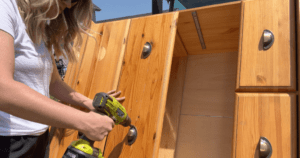
Before I began my project, I needed to remove the existing hardware so I could have a clean slate. I used my drill and removed every drawer pull. I put them aside as I would be needed them later on in the project.
Once I had all the hardware removed, I began to plan out my design.
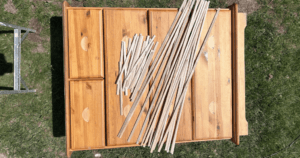
Enter the Spilt Dowels from Woodpeckers!
These Split Dowels are amazing and just what I needed to give this dresser a new, modern look.
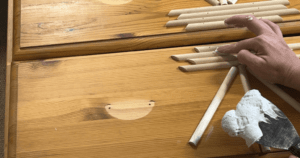
I got a variety of their split dowels in 36″ and 12″ length and a width of 1/2″. Since I didn’t know exactly what I wanted to do with my design, I wanted to ensure I would have enough.
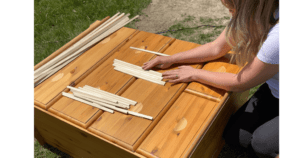
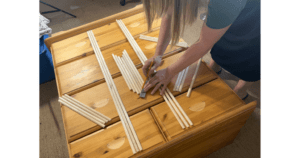
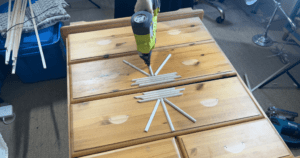
I laid my dresser down and then I began to play around with the dowels moving them in different directions to try and come up with a pattern and a look.
I will be honest, I moved my dowels several times before I finally decided on my final look but what I will also say is that when I was moving these dowels around over and over again, I got a real feel for them and was super impressed with the quality.
I did also have to take my project inside as it was a super hot day out and the sun was just becoming too much!
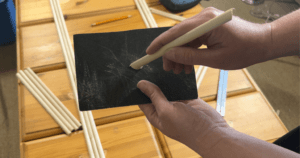
I made my marks on the dowels as to where they needed to be cut. To cut the spilt dowels, I used a hand saw. It was super easy to cut right through these dowels with ease — so if you don’t have power tools or aren’t sure about operating an electric saw, don’t shy away! Anyone can do this!
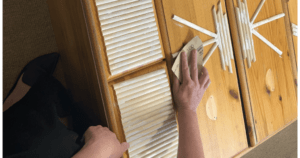
Once I had made all my cuts, I took a 100 grit sandpaper and I sanded all my cut edges so they were smooth.
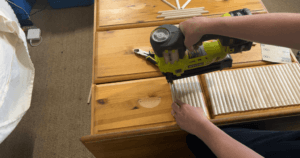
I used a nail gun to attach all the dowels in place. I attached them dowel by dowel one at a time making sure to hold them securely as nailed so that they didn’t move.
Once I had all my split dowels in place, I used some putty to fill in each nail hole. This took a bit of time but totally worth it for a flawless finish!
I let the putty fully set and then sanded down any ruff areas with a piece of 100 grit sandpaper.
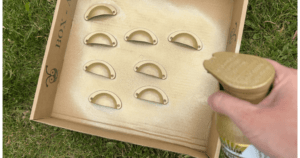
While the putty was drying, I took the hardware outside and gave it a fresh coat of paint with some Rustoleum Gold Spray Paint.
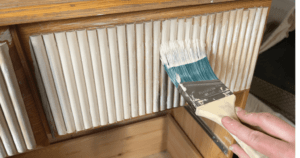
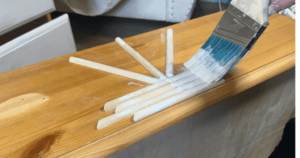
With the putty dried and sanded, the last step in my project was to paint the dresser. I used Country Chic Paint to give this dresser a fresh new coat. I mixed up my own custom colour using Simplicity and Canape.
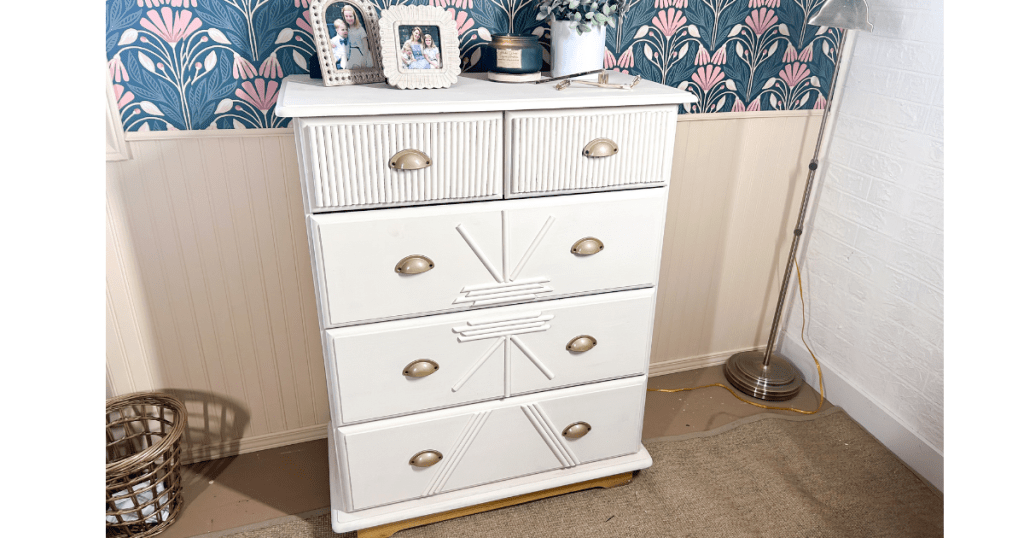
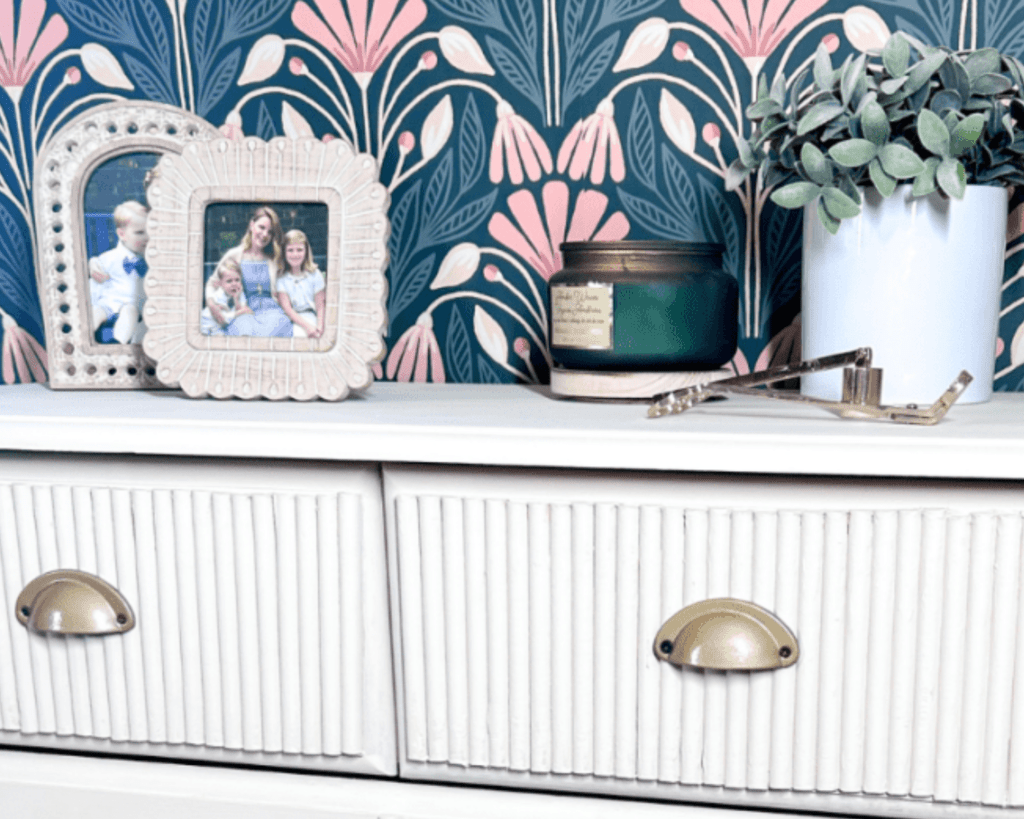
It was super easy to paint right over the dowels and the dresser. I did two full coats of paint allowing for at least 4 hours dry time in between. Once the paint was dry, I set my dresser up in its new home and here she is!
Isn’t she beautiful!? What do you think!? Let me know if the comments below! I love the new beautiful and modern look this dresser has and I especially love the personality and character that the Spilt Wood Dowels from Woodpeckers add.
If you’re looking to add a little character and charm to a piece of furniture, check out Woodpeckers site. There are tons of wood supplies that you can use to add your own touch!
That’s all I have for today! I hope you enjoyed this post and can’t wait to share the next one with you all!