Easter Egg & Dried Floral Centerpiece with Woodpeckers Crafts
By Elizabeth Jones with Country Peony
Spring is in the air, and Easter is right around the corner! Today I have a really sweet and unexpected take on a classic Easter tablescape. I am combining several of Woodpeckers Crafts amazing wooden products to create a charming, miniature centerpiece that is perfect for Spring: Easter Egg & Dried Floral Centerpiece.
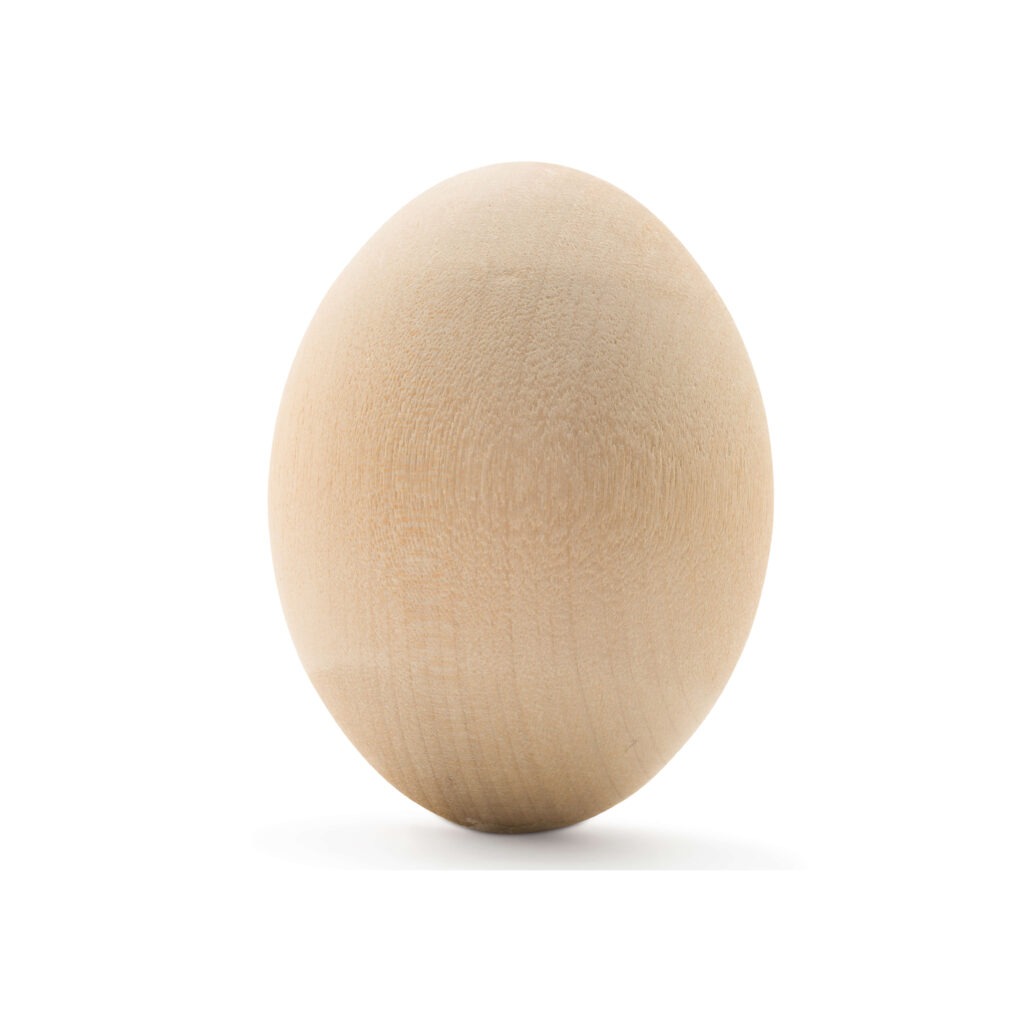
Woodpeckers Crafts has the best wooden craft products around, and when I saw their amazing wooden eggs, egg cup holders, and adorable miniature vases I knew I wanted to create a centerpiece worthy of the Easter table.
I love how sweet and unexpected this centerpiece turned out, and I love how you can customize it with the color scheme and quantity to fit your own centerpiece needs! I hope you enjoy making yours just as much as I did!
Before we get started on the tutorial, I wanted to highlight Woodpeckers Crafts. I am so excited to partner with Woodpeckers Crafts today because they provide very high-quality wooden products that are the perfect base for any crafting project. Their mission to use wood to fuel creativity is a wonderful one I can get behind, and I feel so grateful to partner with them on today’s project.
Enjoy this video below showcasing how to create the Easter Egg & Dried Floral Centerpiece for Spring.
Continue below for the step-by-step picture tutorial to create your own centerpiece for Easter!
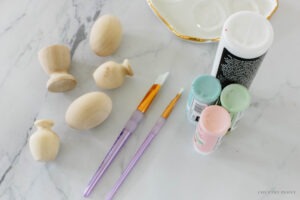
To make your own Easter Egg & Dried Floral Centerpiece, you will need:
Craft Paint (For this project I used a light pink, robin egg blue, light green, white, and espresso brown)
Craft Paintbrush
Dried Florals
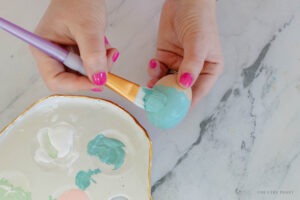
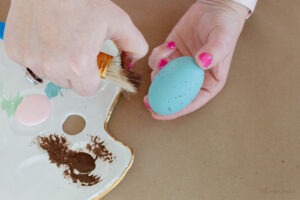
Paint and Splatter the Wooden Eggs
Apply two coats of craft paint to the entire wooden egg. Then, let it dry.
Create the splattered effect onto the painted egg. Protect your work surface with some kraft paper, or plastic. Then, with dark craft paint (I used espresso brown) and a bristly brush, run your thumb through the bristles to create a splattered effect onto the egg.
*You can also use an old toothbrush for this technique.
Then, let the egg dry.
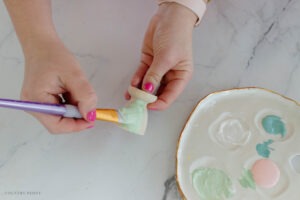
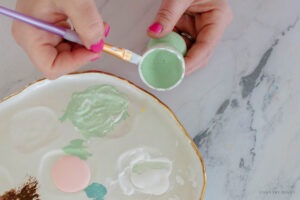
Paint the Egg Cup Holder and Vases
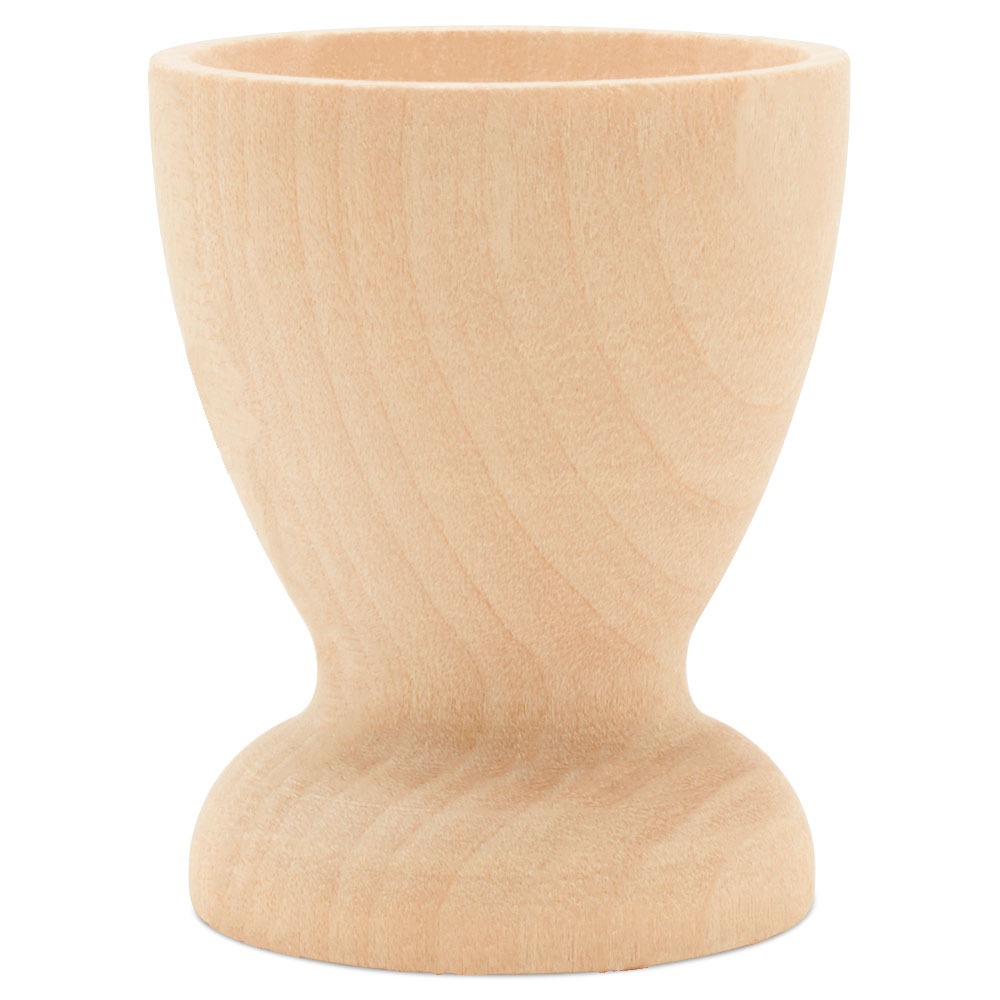
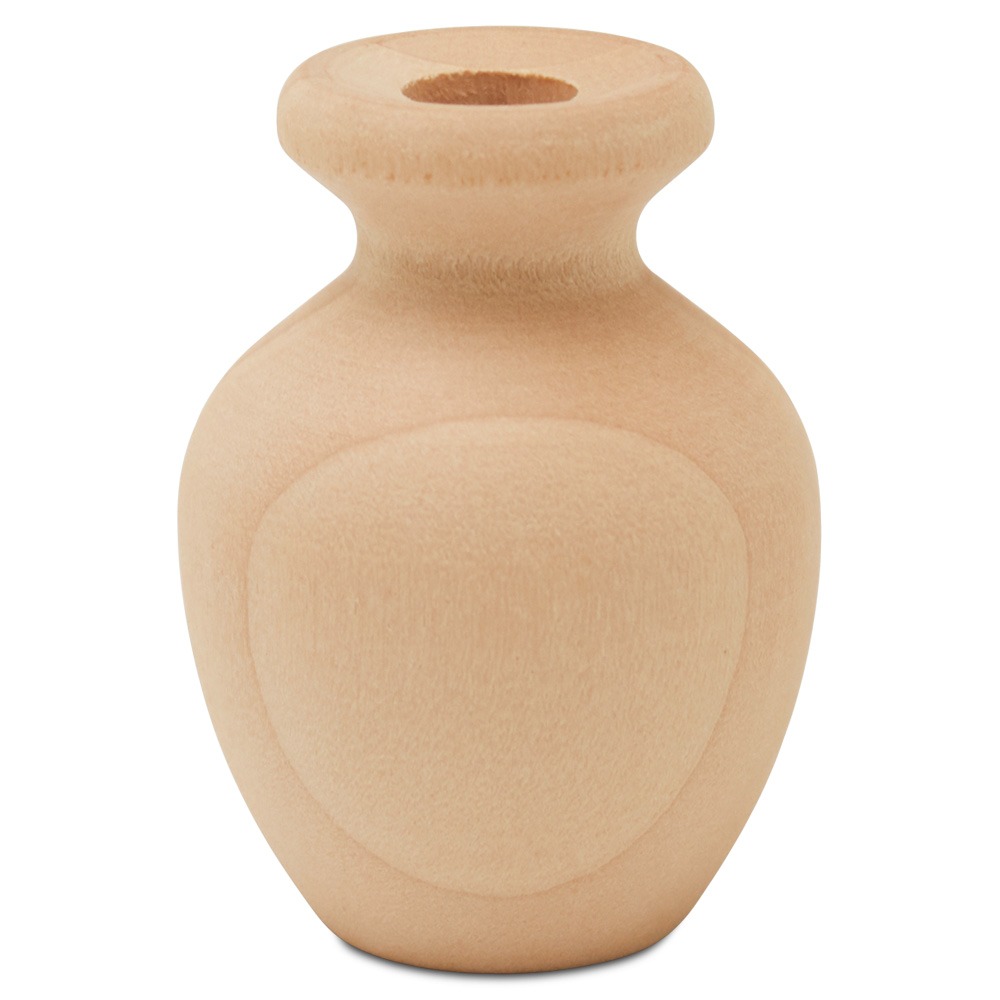
Woodpeckers Crafts makes these charming egg cup holders and miniature vases. I wanted to include them in this centerpiece.
To create a cohesive look I painted them in three different Spring-like colors: light pink, light green, and white.
*Apply anywhere from 2-4 coats of craft paint. I applied 2 coats of light green and pink, and 4 coats of white paint to achieve the look I was after.
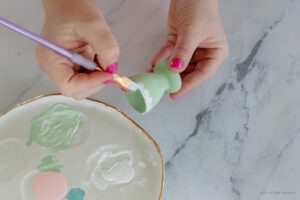
Paint a Scallop on the Egg Cup Holder
I wanted the egg cup holders to stand out, and so I added a charming scallop detail to the top of them. But, you can paint whatever design your heart desires.
To create the scalloped detail, paint semi-circles at the top of the egg cup holder.
Paint around the top rim of the egg cup holder to create a finished look. Then, let them dry.
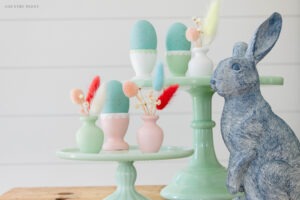
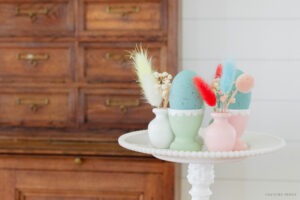
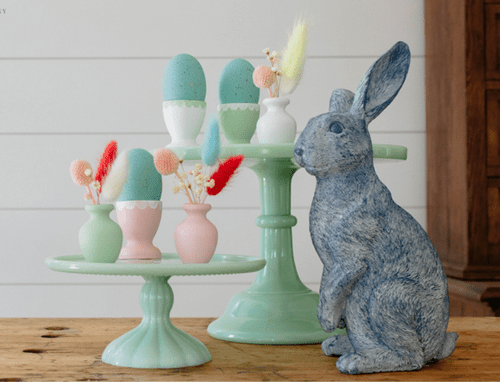
Set Out the Speckled Easter Egg & Dried Floral Arrangement this Spring
Create a sweet vignette with the wooden painted Easter eggs and dried florals for your Spring tablescape.
I placed the eggs inside the wooden egg cup holders, and I added some beautiful dried florals to the miniature vases. Have fun with the flowers. Choose flowers in different sizes and colors that pair well with the painted eggs and vessels. I love how the bunny tails are a nod to Easter and are a fun pop of color.