
(I also knew that I did not want to spend hours slicing up the cutout and putting it back together.)
So todays’s secret shortcut is…. decorative grooves. They’re just as smart looking, and WAY easier. Here’s my homemade 1-2-3 groove- making method:
- Mark: Using a ruler and a pencil, I marked 2-inch increments (with tiny lines at the top and bottom of the cutout).
- Score: At each increment, I held the ruler in place as a “tracing guide”, and dragged the dried-up pen down the length of the cutout. Tada – groove created!
- Carve: Then my 14-year-old son (who’s quite handy and likes to outdo me
 ) used the point of an open scissor to deepen the grooves.
That’s all, for real. Three simple steps and you just took your cutout up a few notches (notch, ha ha!). Try it out and let me know how it goes.
Renee
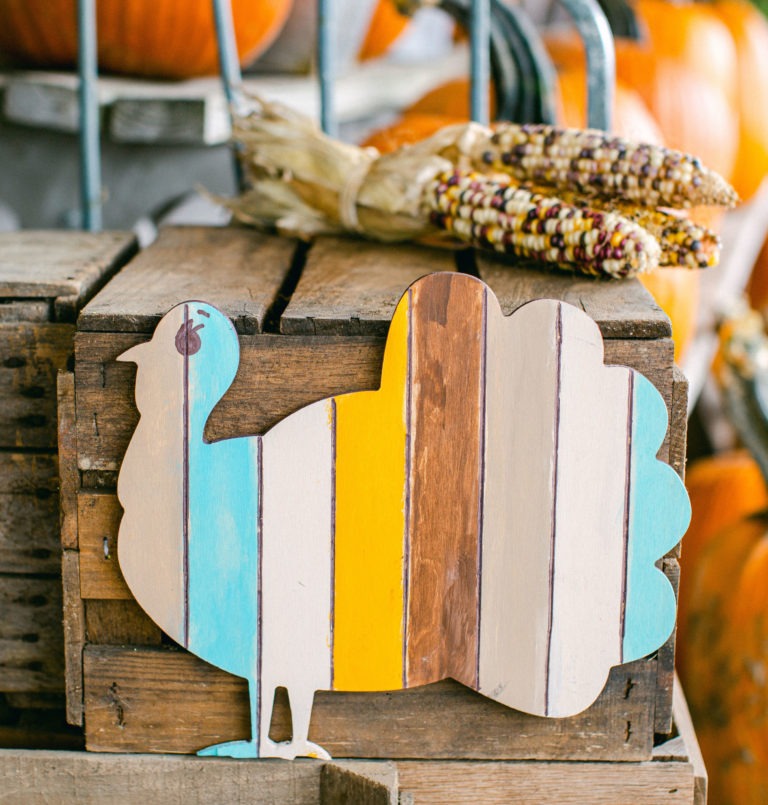
P.S. For this Turkey cutout nI colored in the grooves with a paint marker, but sometimes I leave them natural – depending on the colors of the project.